- /
- Valorant
- /
- Maps
MAPS

Ascent

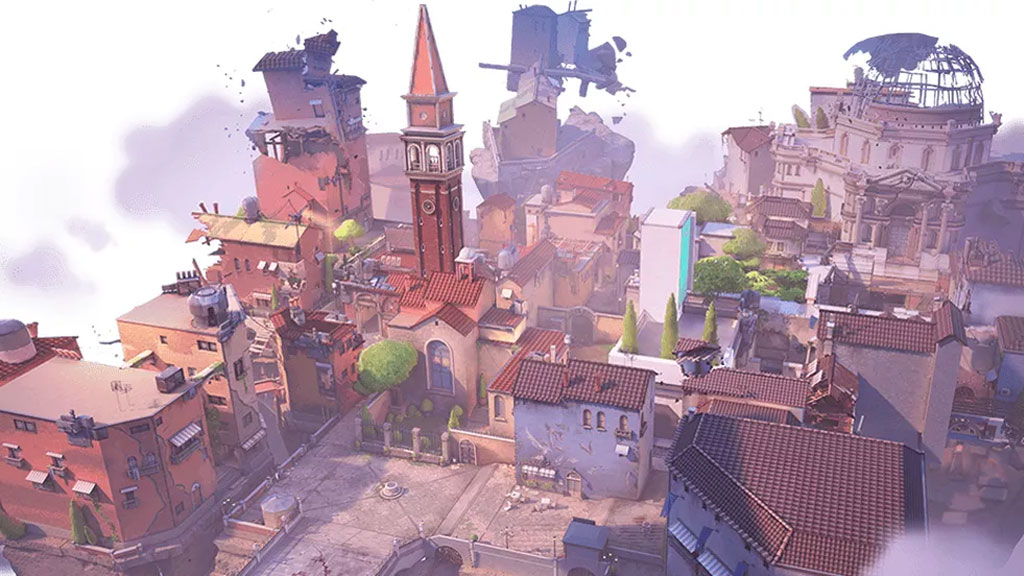
Concept
Ascent is a simple map. The only thing to highlight is its doors mechanics. Which are opened and closed by means of a switch. These doors allow us to cancel a connection to the Side, until it breaks or opens, modifying in a certain way the structure.
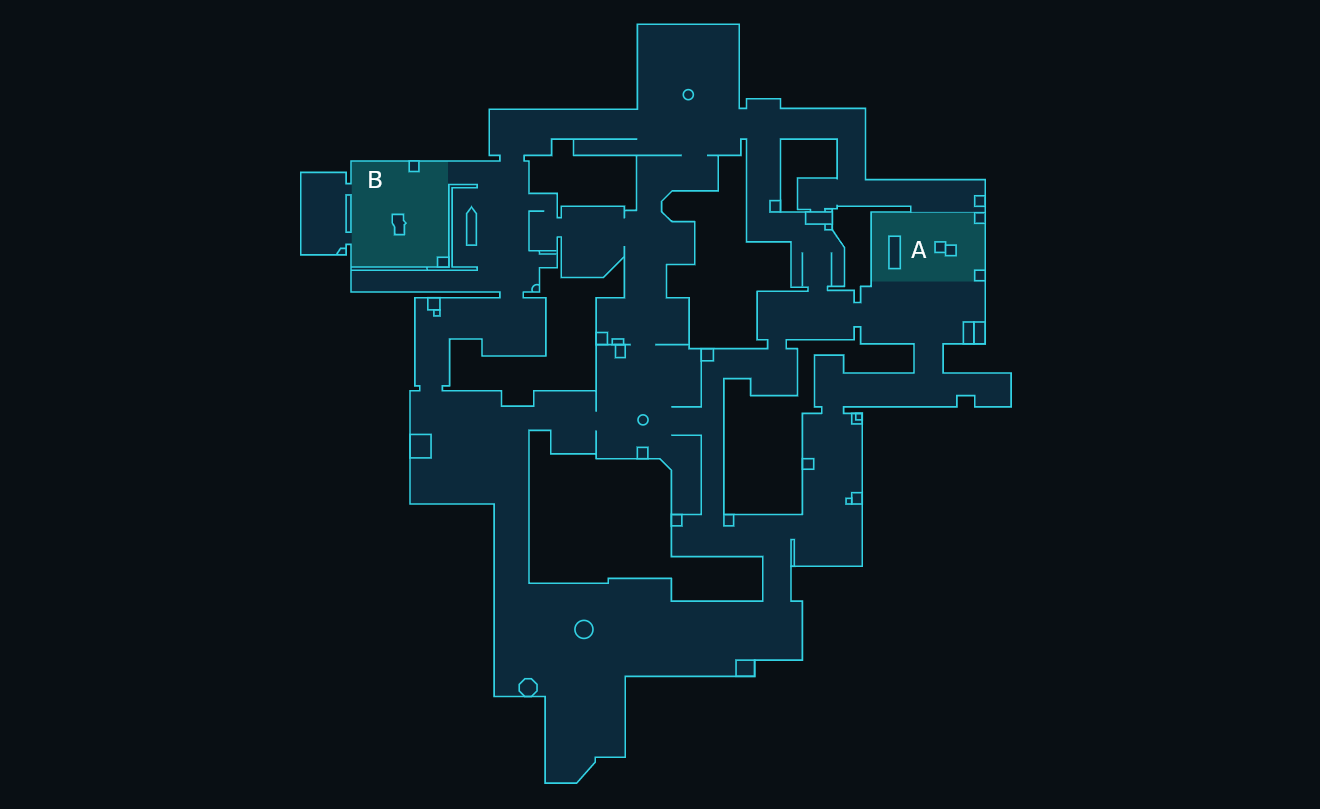
Orbs
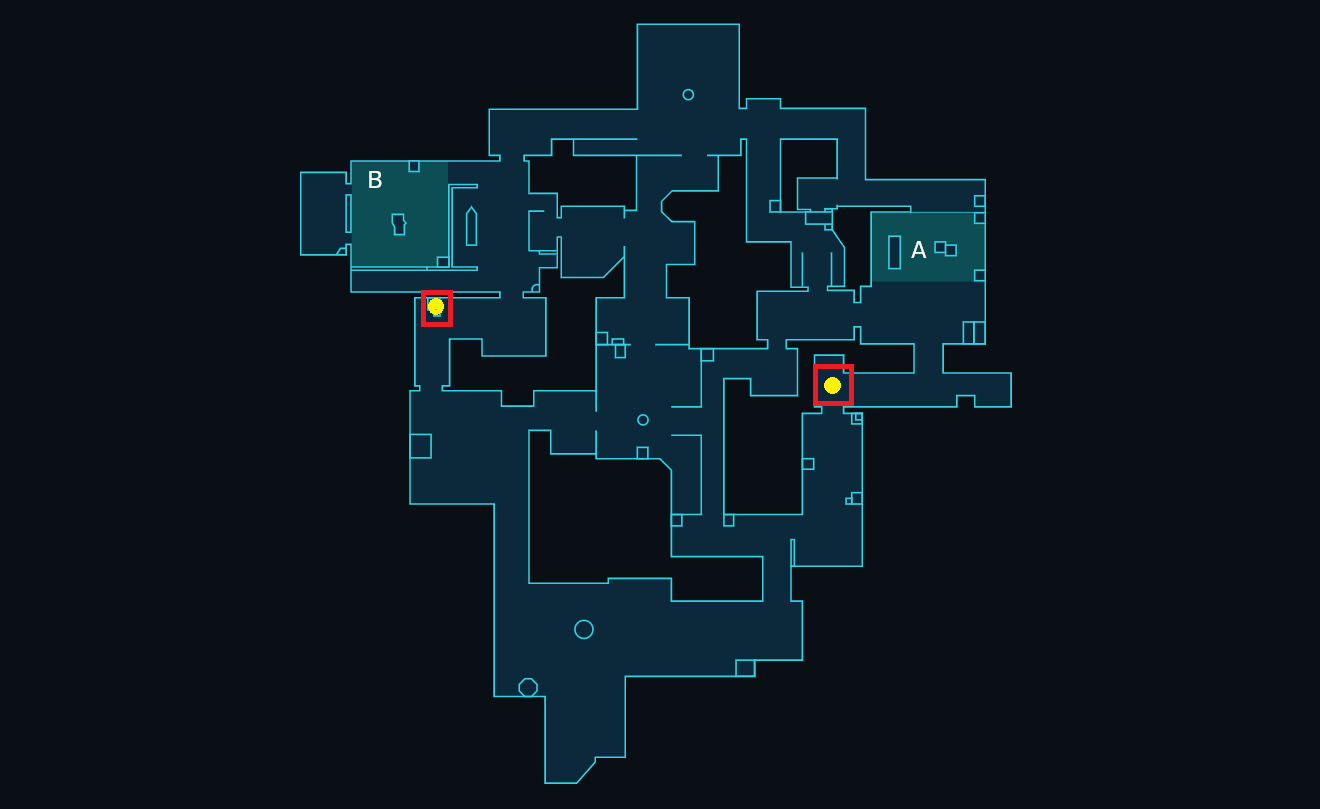
A Main Orb: Favors the attacker.
B Main Orb: Favors the attacker.
Times of Rotations
I will put only some basic ones.
To the attack times, we must add the 4s it takes to plant the Spike.
In attack, the rotation is made up to the Default plant.
The times with a gun or knife are similar, as long as they are not heavy weapons.
Attack
A Main – B Side for Spawn Attacker
- Running 33s +-
- Walking 52s +-
A Short – B Side for Market
- Running 17s +-
- Walking 26s +-
Defense
A Side – B Side for CT
- Running 13s +-
Defender or Attacker?
Defender
Zone Analysis
A Main
Simple Structure.
Connection with A Lobby and A Side.
More Defensive Priority.
More Positions of Value for the attacker.
Comments:
B Main
Simple Structure.
Connection with B Lobby and B Side.
Priority 50/50.
More Positions of Value for the attacker.
Comments:
A Short
Simple Structure.
Connection with Mid Zone, Garden and A Side.
Much more Defensive Priority.
More Positions of Value for the defender.
Comments:
B Short
Simple Structure.
Connection with B Lobby and Mid Zone.
More Attacker Priority.
Equalized in Value Positions.
Comments:
Market
Simple Structure.
Connection with Mid Zone, Spawn Defender and B Side.
Defender Priority.
Matched in Value Positions.
Comments:
A Side
Complex Structure.
Connection with A Short, A Main and Heaven.
Defender Priority.
More Positions of Value for the defender.
Comments:
B Side
Complex Structure.
Connection with B Main, CT and Mid Zone.
Defensive Priority.
More Positions of Value for the defender.
Comments:
Mid Zone
Complex Structure.
Connection with A Short, A Lobby, Spawn Attacker B Short and Market.
More Defender Priority.
Matched in Value Positions.
Comments:
Content in Development…

Bind

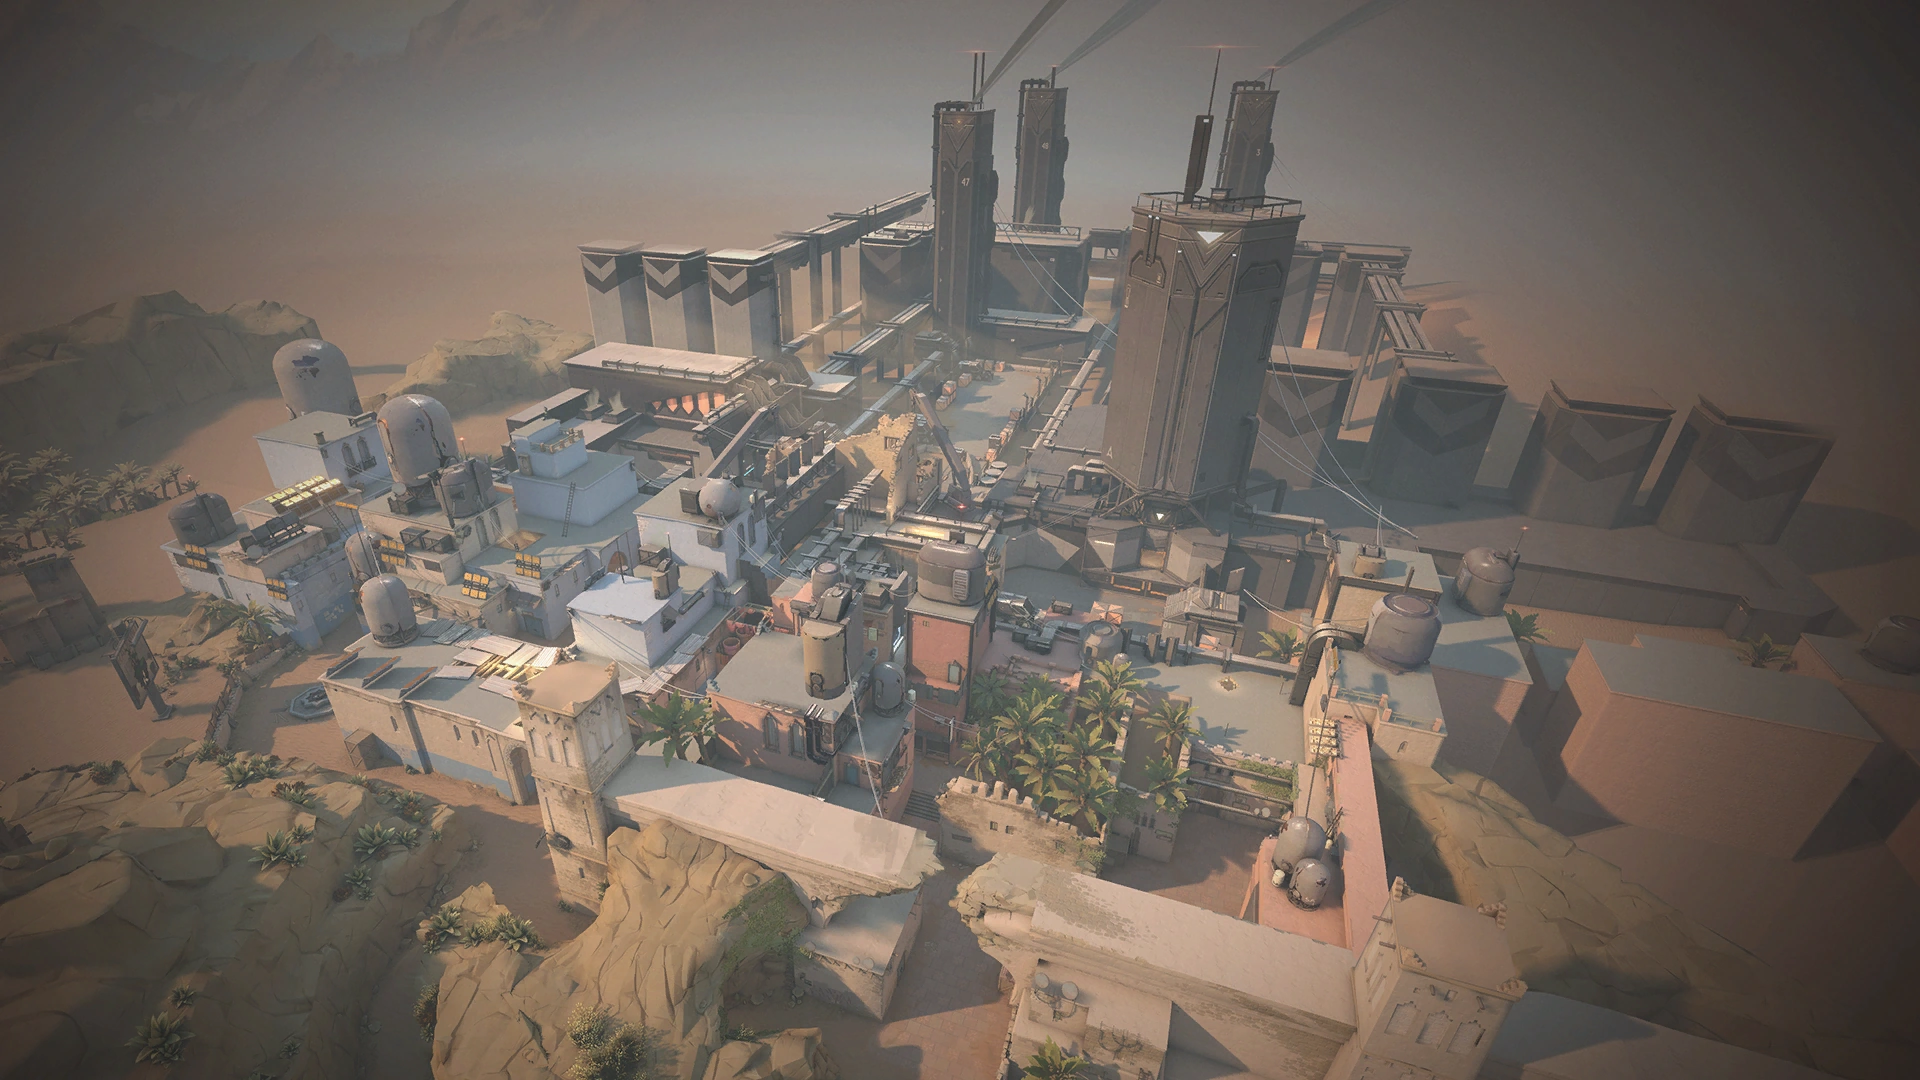
Concept
Bind has 2 specific concepts.
- It has no middle zone.
- It has two portals that can teleport you between different areas of the map.
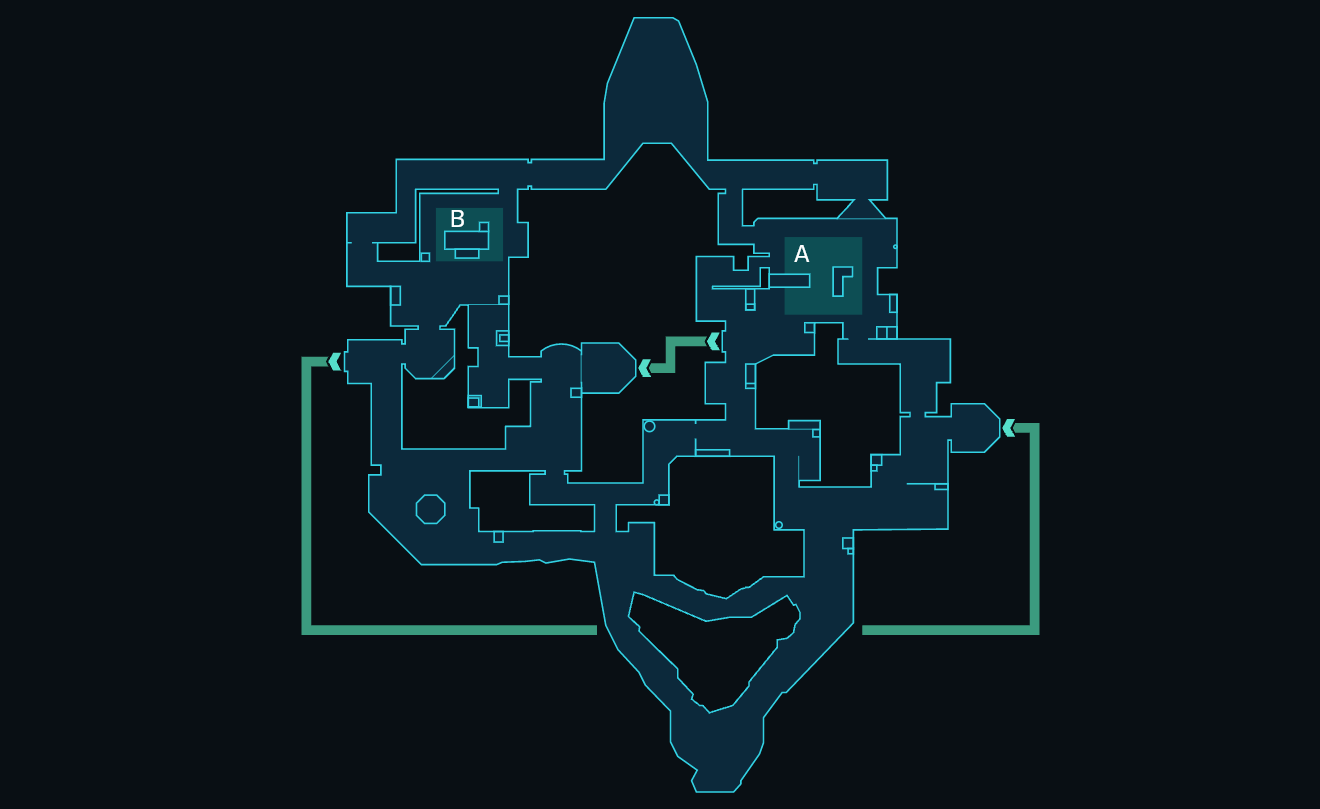
Orbs
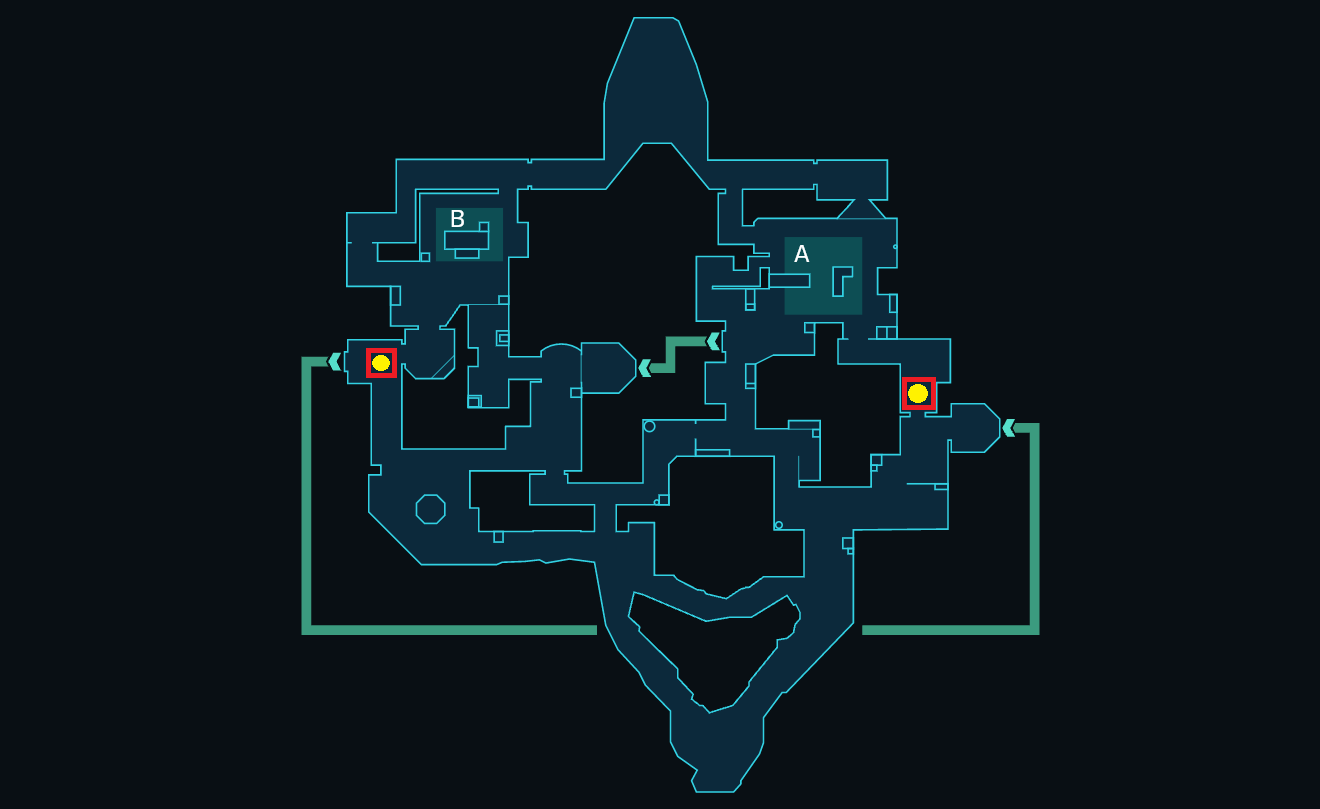
Orb of B Long: Favors the Attacker
Orb of Bathroom: Favors the Attacker
Times of Rotations
I will put only some basic ones.
To the attack times, we must add the 4s it takes to plant the Spike.
In attack, the rotation is made up to the Default plant.
The times with a gun or knife are similar, as long as they are not heavy weapons.
Attack
Bathroom – B Side for Cave
- Running 36s +-
- Walking 56s +-
Hooka – A Side for Link
- Running 19s +-
- Walking 29s +-
B Long – A Side for Portal
- Running 10s +-
Defense
A Side – B Side for CT
- Running 12s +-
A Side – Hooka for Portal
B Side – Bathroom for Portal
- Running 6s +-
Defender or Attacker?
Defender
Zone Analysis
Bathroom
Simple Structure.
Connection with A Side and A Lobby.
More Defender Priority.
More Value Positions for the defender.
Comments:
- Together with A Lobby, secures rotation through the Portal for the attacker.
- Has impact on PostPlant and Retake.
A Short
Simple Structure.
Connection with B Short, Lamps, Mid Connector, A Lobby and A Side.
More Defender Priority.
More Value Positions for the attacker.
Comments:
- Important for the Portal.
- Interesting for some aggressive defense.
B Short
Simple Structure.
Connection with A Short, Hooka, B Lobby and Mid Connector.
More Attacker Priority.
More Positions of Value for the attacker.
Comments:
- Together with Hooka, ensures rotation through the Portal for the attacker.
- Interesting for some aggressive defense.
Hooka
Simple Structure.
Connection with B Short and B Side.
Defensive Priority.
More Positions of Value for the defender.
Comments:
- Interesting for the attacker, take priority away from the defense.
- Together with B Short, ensures rotation through the Portal.
B Long
Compound Structure. First we have B Long and then Garden. Both are managed as the same space.
Connection with A Lobby, B Lobby and B Side.
More Defender Priority.
More Positions of Value for the defender.
Comments:
- Good zone to make timing aggressive on defense.
- Important for the Portal.
A Side
Complex Structure. Apart from the basic zones of a Side, it has a Heaven zone and the Lamps space that has a lot of incidence in the Side.
Connection Lamps (By Side and BackSide), B Short, A Short, Bathroom, Heaven and A CT.
Low Oppressive Shock Points.
Defensive Priority.
More Positions of Value for the defender.
Comments:
- Generally, it is a Side, quite defensive.
- A Side’s approach lies in the management of Lamps and Bathroom. Both before the approach and for the PostPlant and Retake.
B Side
Complex Structure. It has the basic zones of a Side and the Elbow zone.
Connection with Elbow, Hooka, B Long and B CT.
The shock point of B Long is not very oppressive. But Hooka’s is oppressive.
Defensive Priority.
More Value Positions for the Defender.
Comments:
- Not such an easy Side to defend and more so when utility comes into play.
- For the defender the Elbow zone is very important. Otherwise the PostPlant gets a little complicated. Since the attacker can be supported in many spaces, such as Hooka, B Long and Side.
Content in Development…

Fracture

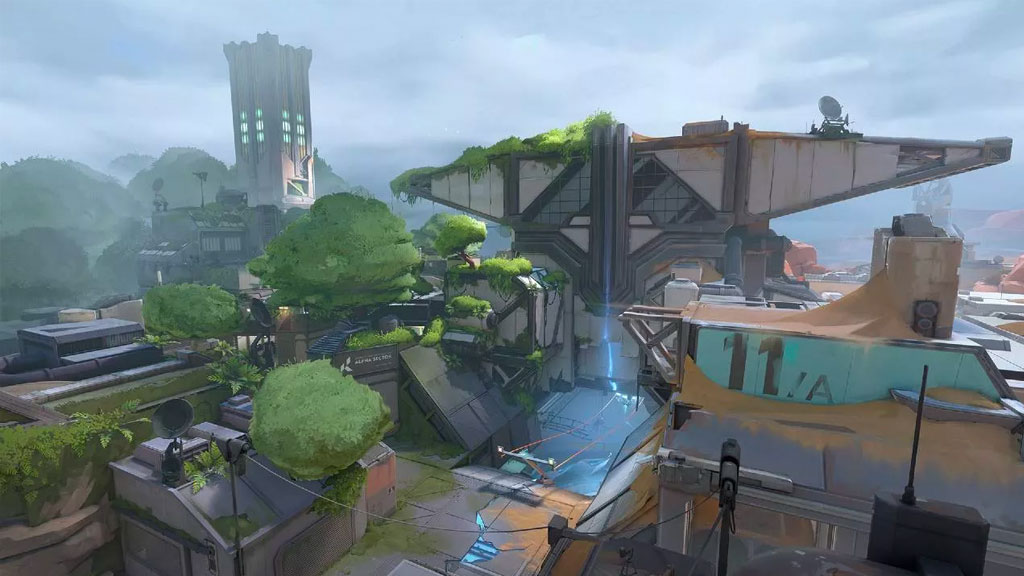
Concept
Fracture is a map with 2 specific concepts.
- It has no Middle. Instead there are some zip lines that connect the attacking spawn zone and the other extreme of the map.
- Following the previous concept. The zone of defensive appearance is not at the other end of the zone of attacking appearance, as in all maps. It is located in an intermediate position.
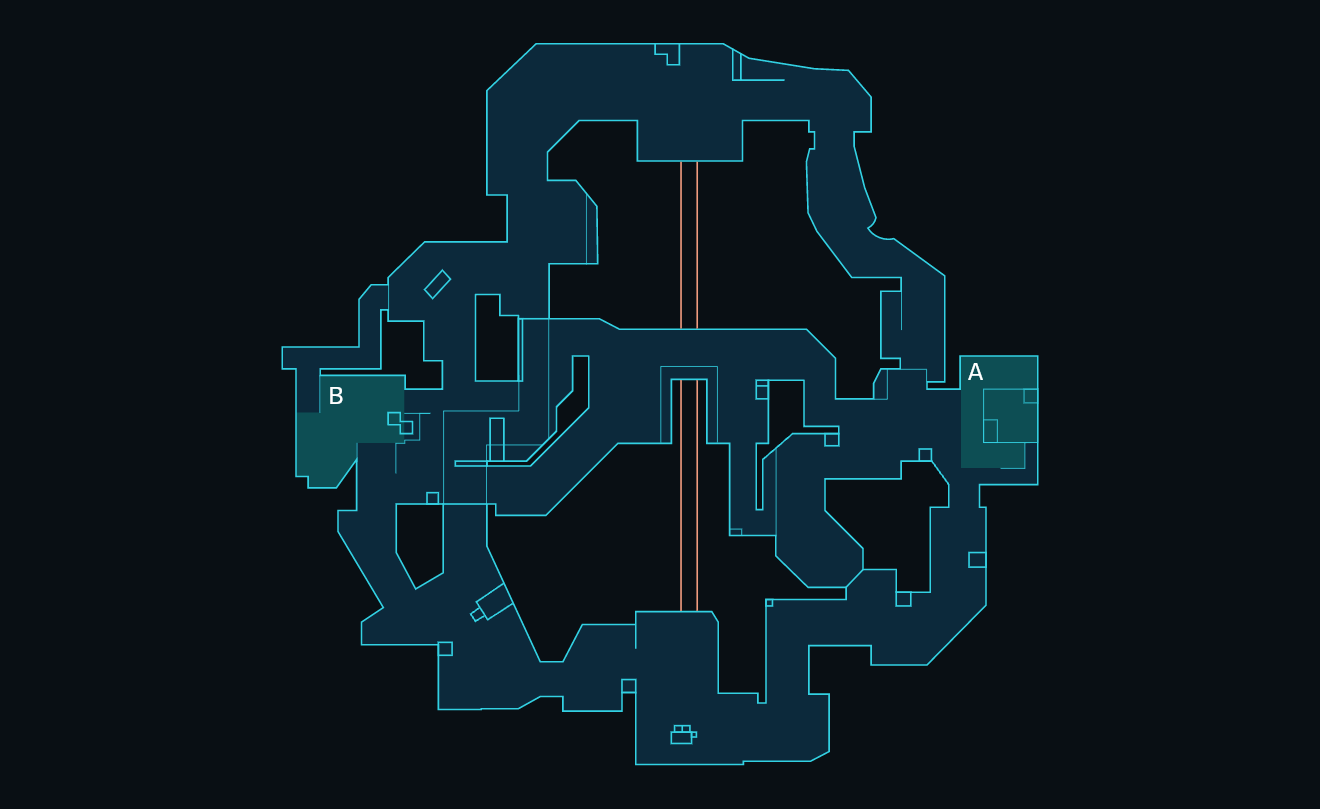
Orbs
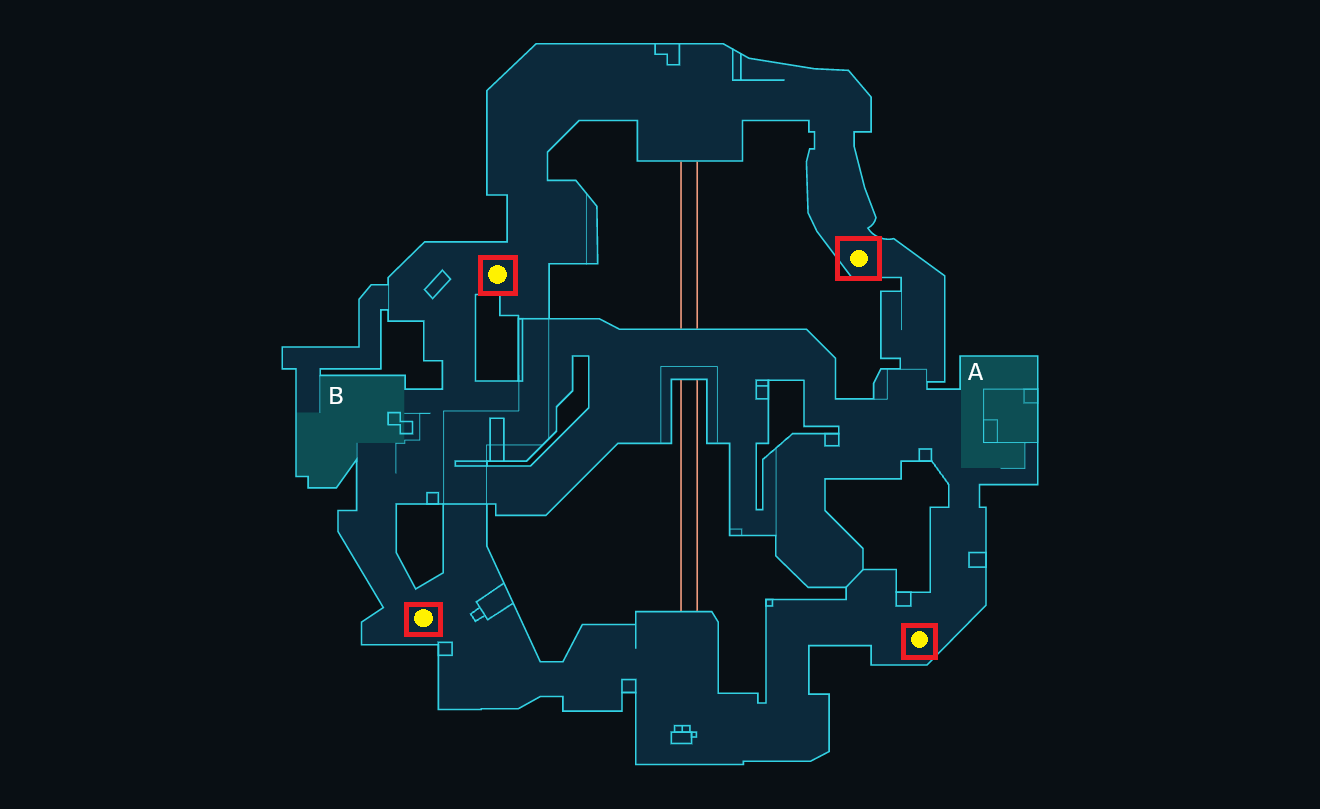
A Main Orb: Favors the Defender.
B Main Orb: Favors the Attacker.
Disc Orb: Favors the Attacker.
Arcade Orb: Favors the Attacker.
Times of Rotations
I will put only some basic ones.
To the attack times, we must add the 4s it takes to plant the Spike.
In attack, the rotation is made up to the Default plant.
The times with weapon or knife are similar, as long as they are not heavy weapons.
Attack
Main A – Side B by Spawn Attacker
- Running 21s + –
- Walking 34s + –
Main A – Side B by Zip Lines
- Running 30s + –
- Walking 51s + –
Defense
Side A – Side B by Spawn Defender
- Running 13s + –
- Walking 20s + –
Defender or Attacker?
In my opinion 50/50. I have to say that this is the only map that generates me some uncertainty. It has uncommon aspects, that I don’t know how much value they will have for both attack and defense.
Content in Development…

Heaven

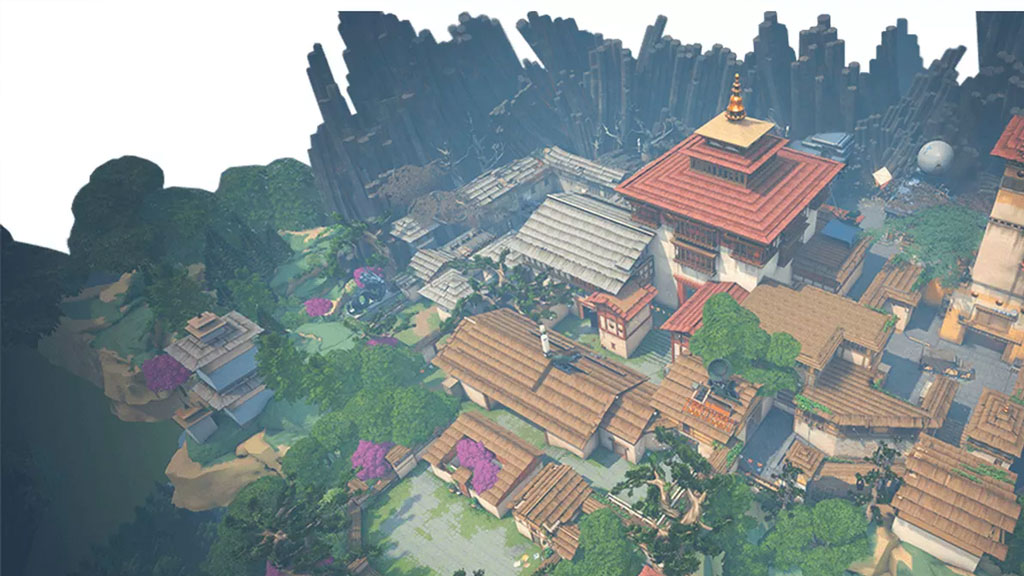
Concept
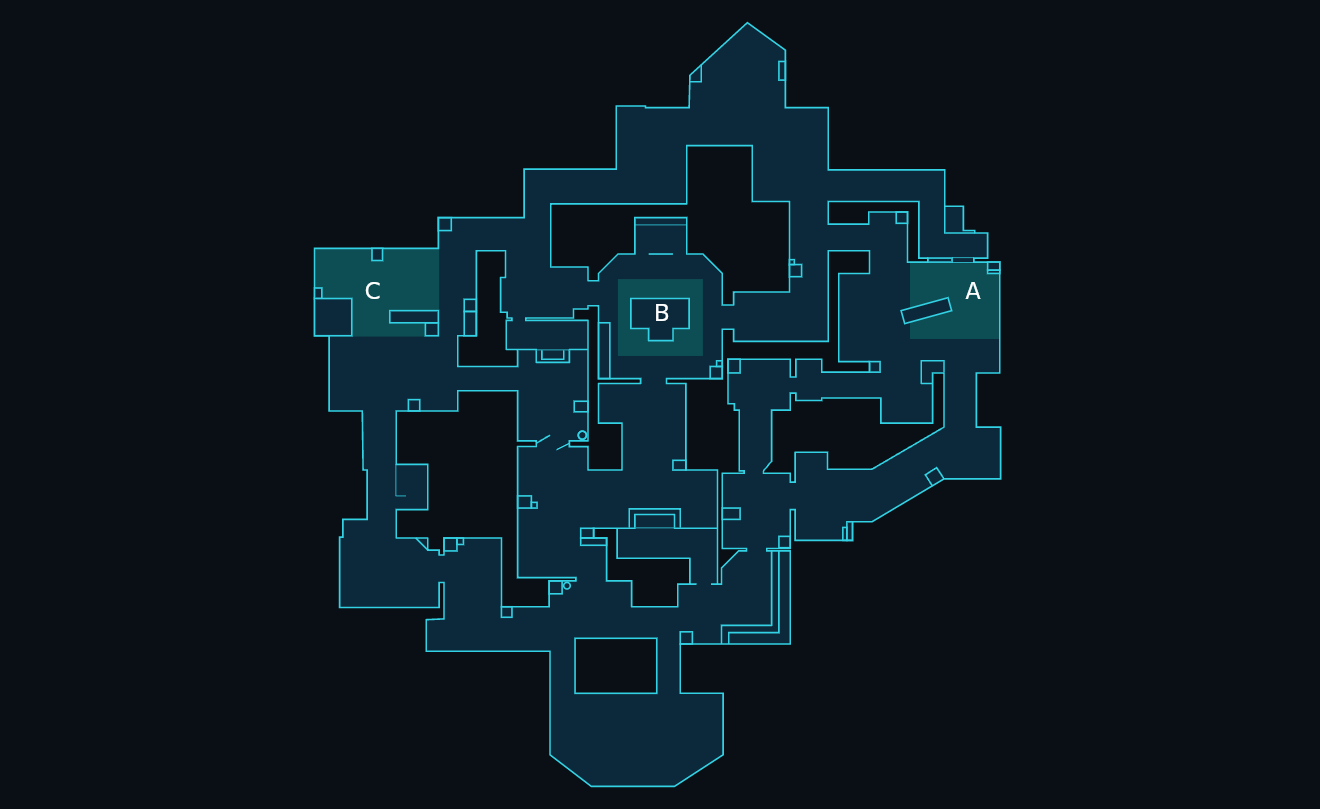
Heaven is a map with 3 Sides.
Orbs

Orb of A Long: Favors the Defender.
Orb of C Long: Favors the Attacker.
Times of Rotations
I will put only some basic ones.
To the attack times, we must add the 4s it takes to plant the Spike.
In attack, the rotation is made up to the Default plant.
The times with gun or knife are similar, as long as they are not heavy weapons.
Attack
A Long – C Side for Spawn Attacker
- Running 26s +-
- Walking 40s +-
A Long – C Side for Garage
- Running 23s +-
- Walking 35s +-
A Long – B Side for Window Mid
- Running 17s +-
- Walking 25s +-
Defense
A Side – C Side for CT
- Running 15s +-
A Side – B Side for A Link
C Side – B Side for C Link
- Running 6s +-
- Walking 10s +-
Defender or Attacker?
Attacker
Zone Analysis
A Main
Simple Structure.
Connection with A Lobby, A Short and A Long.
More Attacker Priority.
More Positions of Value for the attacker.
Comments:
A Long
Simple Structure.
Connection with A Main and A Side.
More Defensive Priority.
More Positions of Value for the attacker.
Comments:
A Short
Simple Structure.
Connection with A Main and A Side.
More Defensive Priority.
More Value Positions for the defender.
Comments:
C Long
Simple Structure.
Connection with C Lobby and C Side.
More Attacking Priority.
Equalized in Value Positions.
Comments:
Garage
Complex Structure. Principal Zone and Window.
Connection with Mid Zone, C Link and C Side.
Defender Priority.
More Positions of Value for the defender.
Comments:
A Side
Simple Structure.
Connection with CT, C Link, Garage and C Long.
Defender Priority.
More Value Positions for the defender.
Comments:
B Side
Simple Structure.
Connection with A Link, C Link and Mid Zone.
Defensive Priority.
More Positions of Value for the defender.
Comments:
C Side
Complex Structure. Principal Zone and Heaven.
Connection with Heaven, A Short, A Long, A Link and CT.
Defender Priority.
More Positions of Value for the Defender.
Comments:
Mid Zone
Complex Structure. Principal Zone and Window.
Connection with B Side, Garage, A Lobby and Connector.
Fairly 50/50 priority.
More Positions of Value for the attacker.
Comments:
Content in Development…

Icebox

Concept
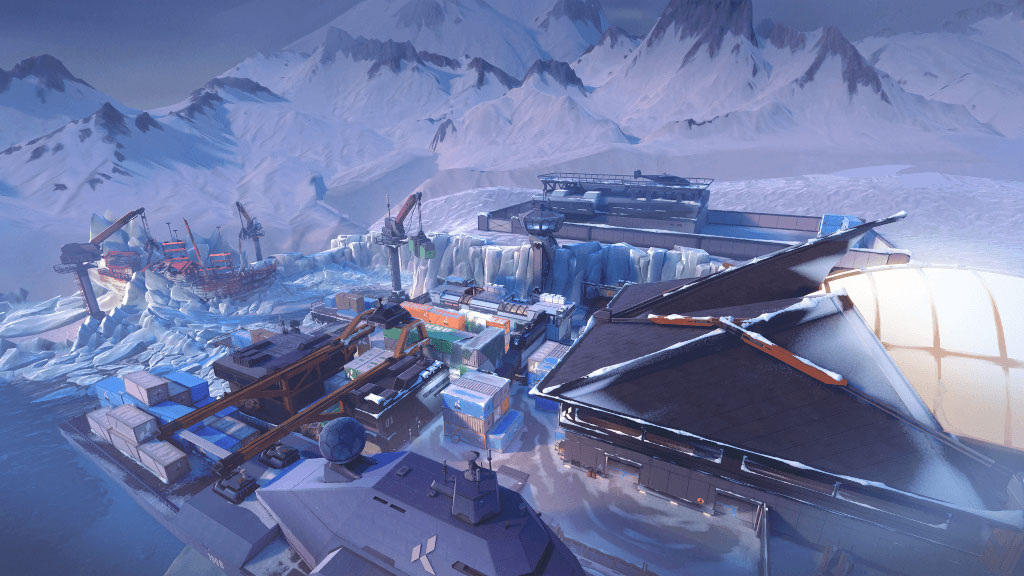
It is a map that is defined by its corridors and elevation changes.
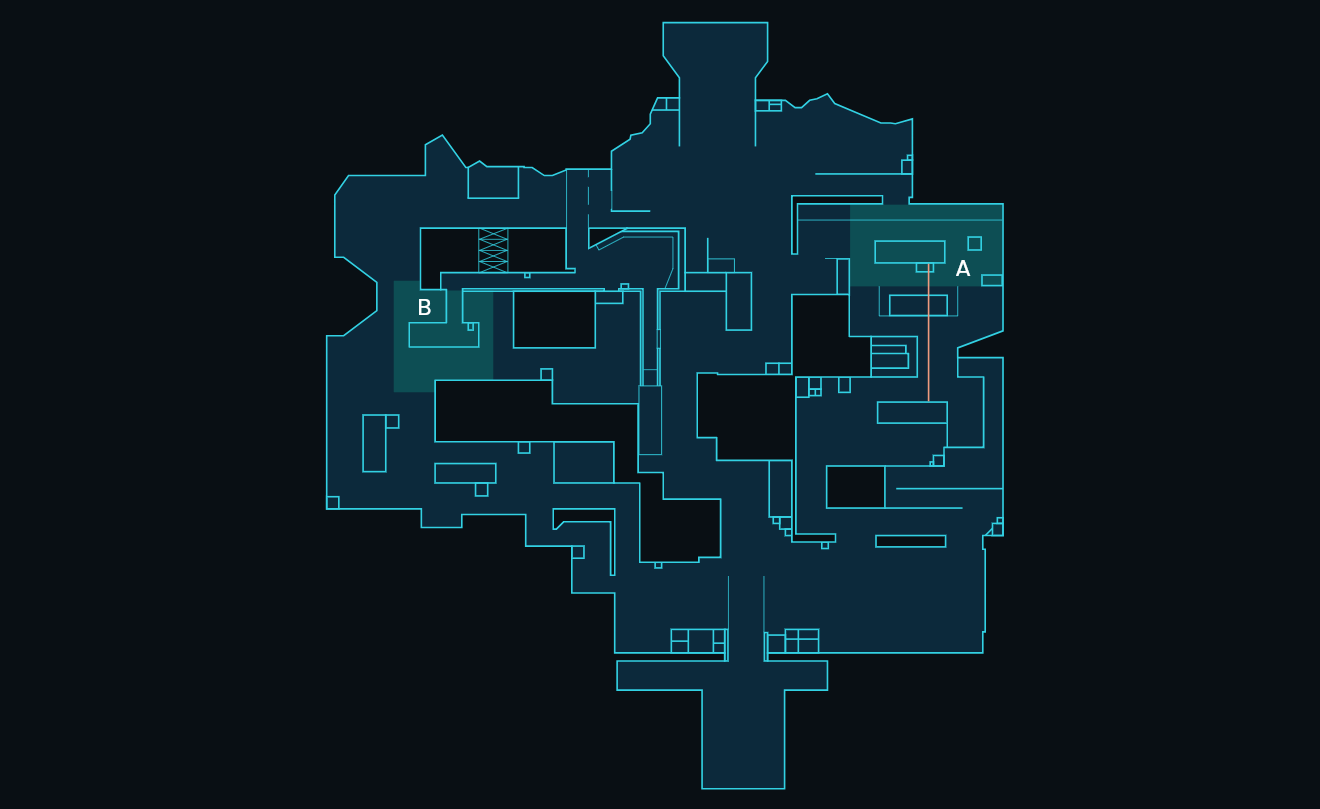
Orbs
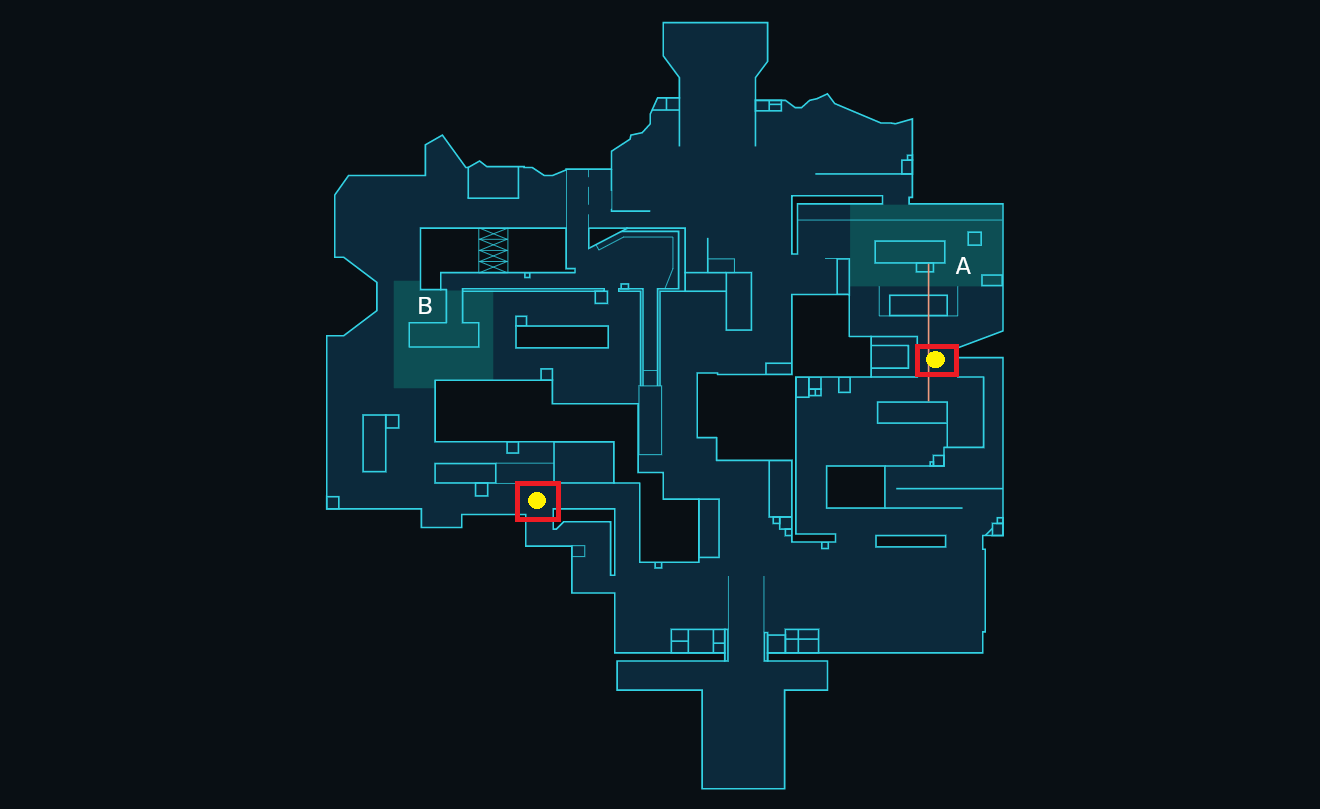
Orb between A Side / A Main: Favors the Defender.
Orb from B Main: Favors the Attacker.
Times of Rotations
I will put only some basic ones.
To the attack times, we must add the 4s it takes to plant the Spike.
In attack, the rotation is made up to the Default plant.
The times with weapon or knife are similar, as long as they are not heavy weapons.
Attack
Main A – Side B by Spawn Attacker
- Running 25s + –
- Walking 38s + –
Main A – Side B by Mid
- Running 22s + –
- Walking 34s + –
Defense
Side A – Side B by Spawn Defender
- Running 16s + –
- Walking 28s + –
Defender or Attacker?
Defender
Content in Development…

Lotus

Concept
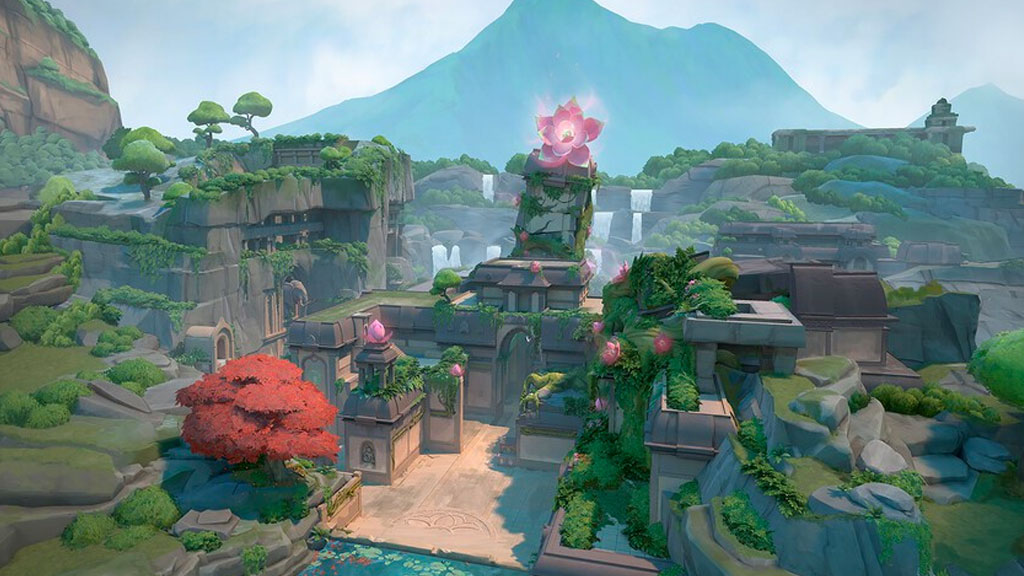
Lotus is a map with 3 Sides, which gathers several new mechanics.
-Revolving Doors
-Destructible Wall
-Silent Fall
Orbs
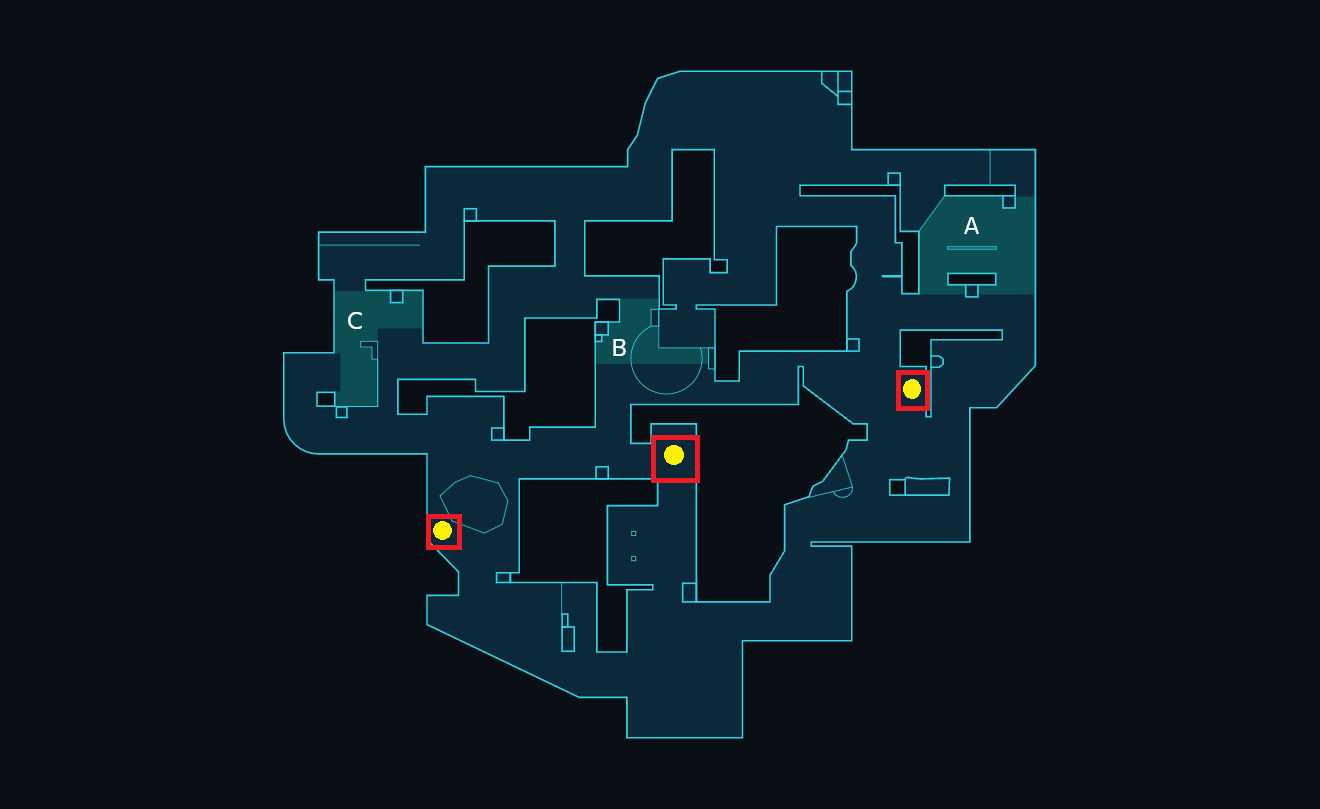
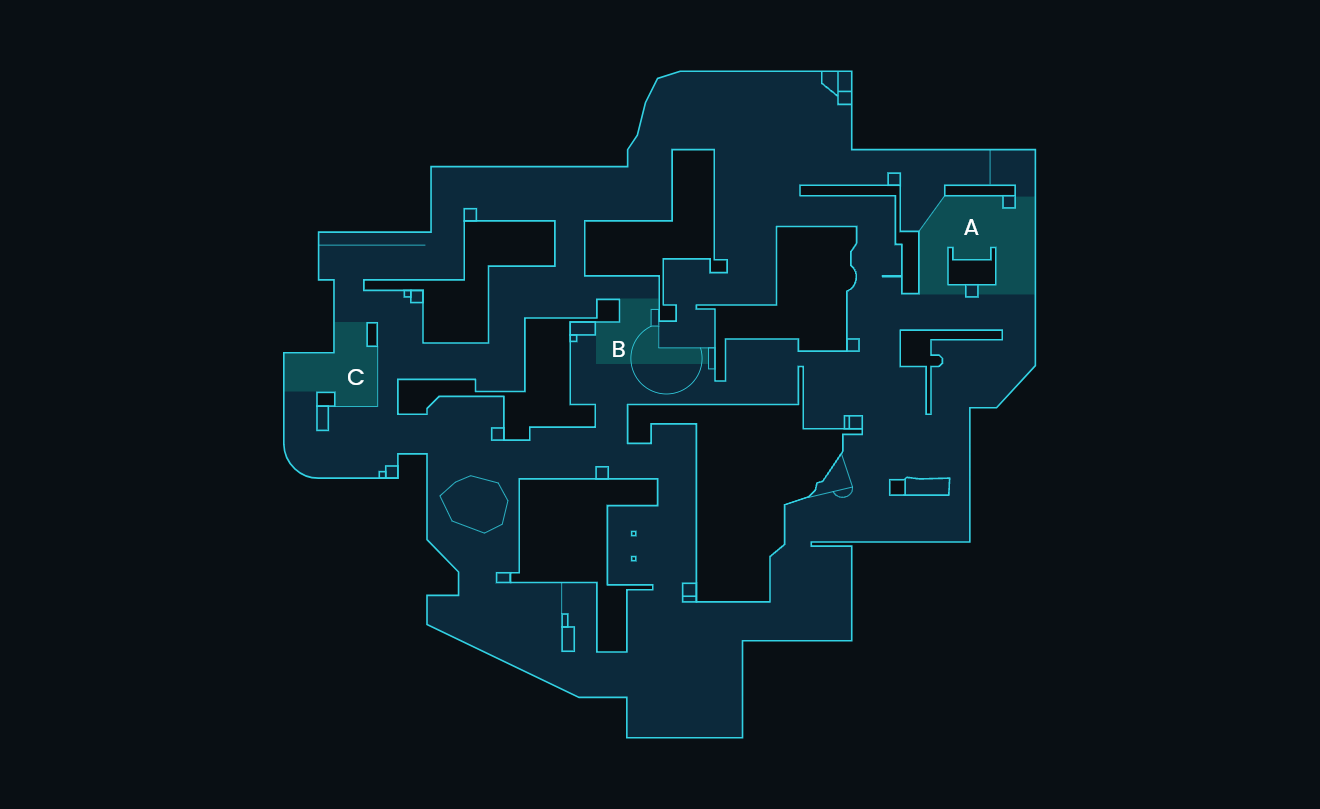
Orb of A Main: Favors the Defender
Orb of B Main: Favors the Attacker
Orb of C Main: Favors the Attacker
Times of Rotations
I will put only some basic ones.
To the attack times, we must add the 4s it takes to plant the Spike.
In attack, the rotation is made up to the Default plant.
The times with a gun or knife are similar, as long as they are not heavy weapons.
Attack
A Main – C Side for Spawn Attcker
- Running 26s +-
- Walking 43s +-
A Main – B Side for A Link
- Running 8s +-
- Walking 12s +-
B Main – C Side for Revolving Door
- Running 12s +-
Defense
A Side – C Side for CT
- Running 19s +-
B Side – A/C Side
- Running 7s +-
Defender or Attacker?
Attacker
Zone Analysis
A Lobby
Simple Structure.
Connection with Spawn Attacker and A Main.
Attacker Priority.
Hardly any Positioning of Value.
Comments:
B Lobby
Simple Structure.
Connection with Spawn Attacker and B Main.
More Attacker Priority.
More Value Positions for the attacker.
Comments:
C Lobby
Simple Structure.
Connection with Spawn Attacker and C Main.
More Attacker Priority.
More Value Positions for the attacker.
Comments:
A Main
Simple Structure.
Connection with A Lobby, B Side, A Side (By Tree and Default) and CT.
More Defender Priority.
Equal in Value Positions.
Comments:
B Main
Simple Structure.
Connection with B Lobby, C Main and B Side.
More Defensive Priority.
Equal in Value Positions.
Comments:
C Main
Simple Structure.
Connection with C Lobby, B Main and C Side.
More Defender Priority.
More Value Positions for the defender.
Comments:
A Side
Complex Structure. Main Zone, Heaven and Tree.
Connection with A Main (By Tree and Default) and Heaven (By Ropes and Slide).
Defender Priority.
More Positions of Value for the defender.
Comments:
B Side
Simple Structure.
Connection with B Main, A Main, C Link and CT.
Defender Priority.
More Positions of Value for the attacker.
Comments:
C Side
Simple Structure.
Connection with C Main, C Link and CT
Defensive Priority.
More Value Positions for the attacker.
Comments:
Content in Development…

Pearl

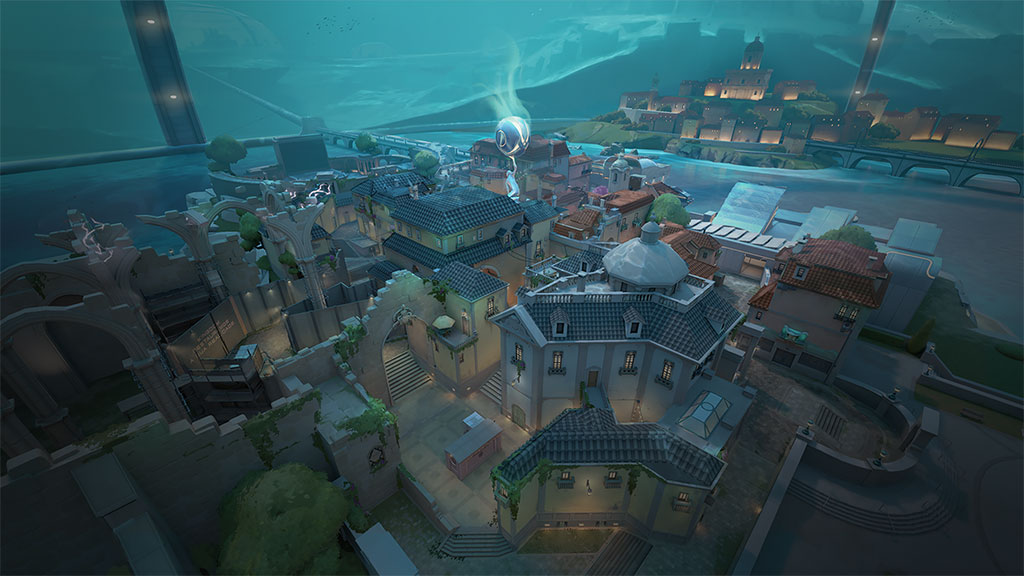
Concept
It is a map that has a middle zone closely connected to each other.
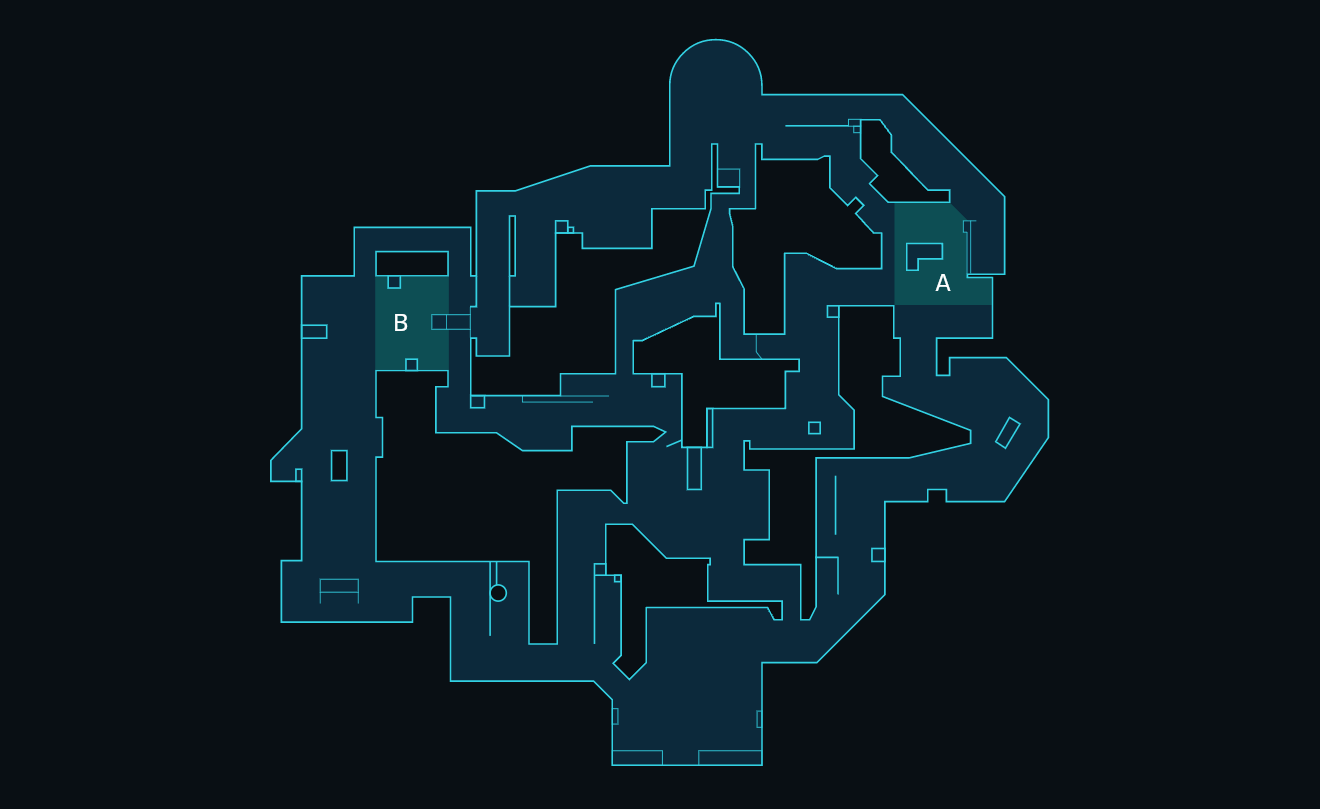
Orbs
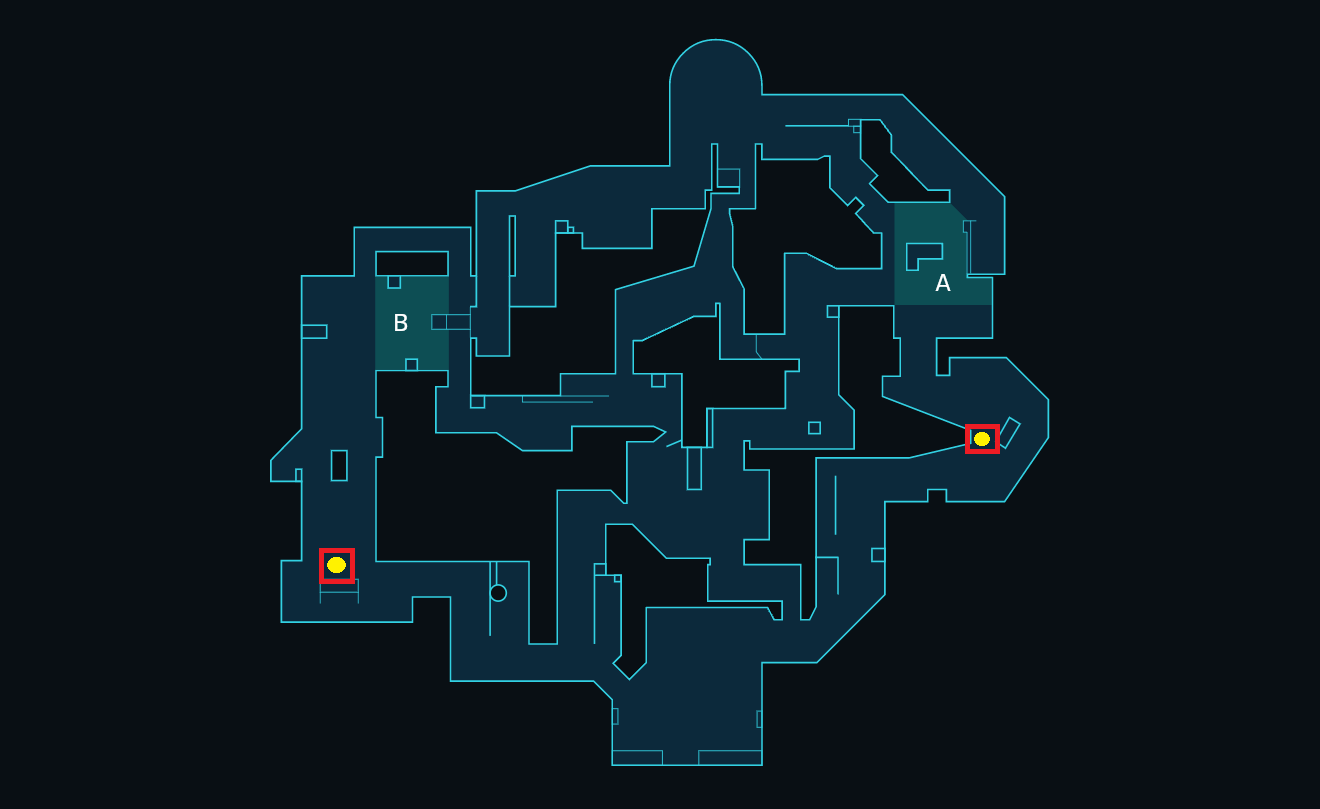
Orb of A Main: Favors the Attacker
Orb of A Ramp: Favors the Attacker
Times of Rotations
I will put only some basic ones.
To the attack times, we must add the 4s it takes to plant the Spike.
In attack, the rotation is made up to the Default plant.
The times with weapon or knife are similar, as long as they are not heavy weapons.
Attack
Main A – Side B by Spawn Attacker
- Running 30s + –
- Walking 50s + –
Main A – Side B by Double Doors
- Running 24s + –
- Walking 41s + –
Art – Side B by Shops
- Running 25s + –
- Walking 40s + –
Art – Side B by Double Doors
- Running 16s + –
- Walking 27s + –
Defense
Side A – Side B by Spawn Defender
- Running 16s + –
- Walking 27s + –
Link Mid – Side B by Link B
- Running 12s + –
- Walking 21s + –
Link Mid – Side A by Spawn Defender
- Running 12s + –
- Walking 19s + –
Link Mid – Side A for Link A
- Running 8s + –
- Walking 14s + –
Defender or Attacker?
Attacker
Content in Development…

Split

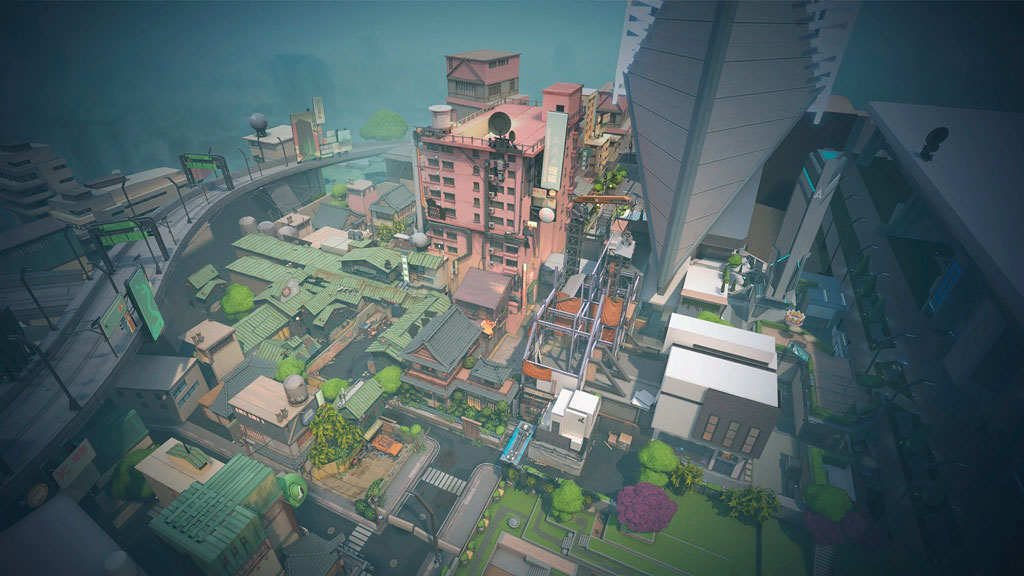
Concept
It is a simple map. The only thing to emphasize would be that both Sides have an adjacent zone in height, called Heaven. Both, connected to the Mid zone.
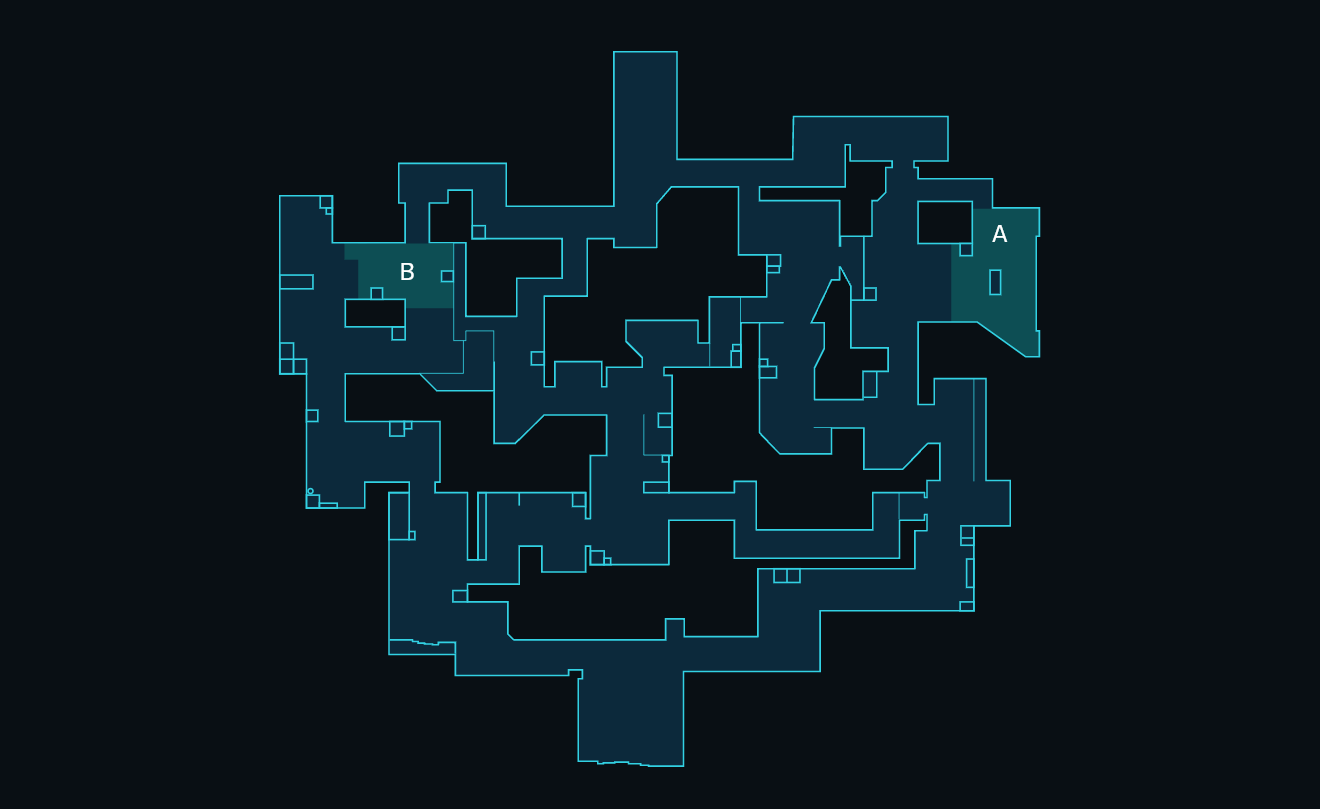
Orbs
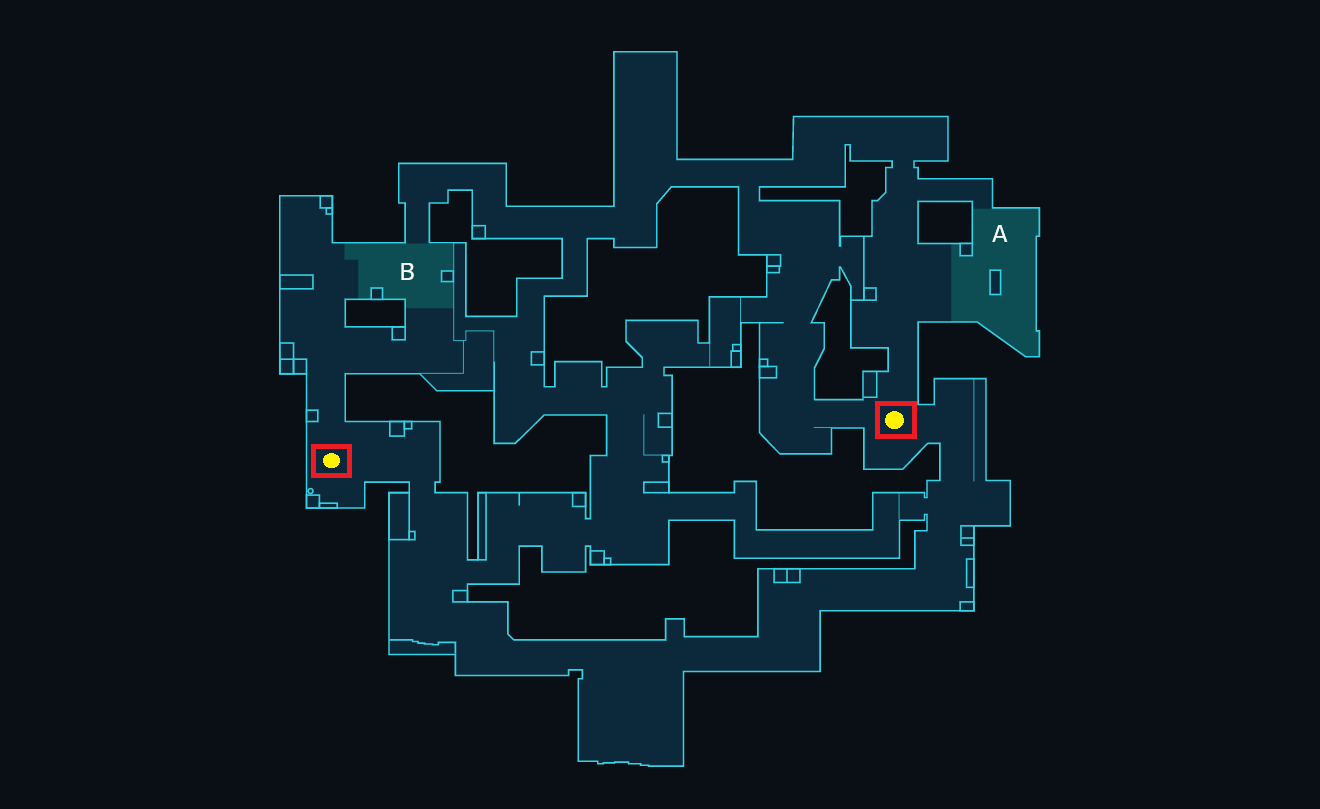
A Main Orb: 50/50
B Main Orb: 60/40 for the Attacker
Times of Rotations
I will list just a few basic ones.
To the attack times, we must add the 4s it takes to plant the Spike.
In attack, the rotation is made up to the Default plant.
The times with gun or knife are similar, as long as they are not heavy weapons.
Attack
A Main – B Side for Spawn Attacker
- Running 31s +-
- Walking 48s +-
A Main – B Side for B Heaven
- Running 25s +-
- Walking 37s +-
Defense
A Side – B Side for CT
- Running 14s +-
- Walking 24s +-
Defender or Attacker?
Defender
Zone Analysis
A Main
Simple Structure.
Connection with Ramp, A Lobby and A Side.
Fairly 50/50 priority.
More Positions of Value for the attacker.
Comments:
- As in other maps, one of the main ideas for the attacker is to deny information and for the defender to find a way to adapt to this.
B Main
Simple Structure.
Connection with B Lobby and B Side.
More Attacker Priority.
More Positions of Value for the attacker.
Comments:
Ramp
Simple Structure.
Connection with A Main and A Heaven.
More Defender Priority.
More Value Positions for the defender.
Comments:
Vents
Simple Structure.
Connection with A Heaven and Mid Zone.
Defensive Priority.
More Positions of Value for the attacker.
Comments:
A Heaven
Simple Structure.
Connection with Ramp, Vents, A CT, Spawn Defender and A Side.
Defender Priority.
More Positions of Value for the defender.
Comments:
B Heaven
Simple Structure.
Connection with Mid Zone, Spawn Defender, B CT and B Side.
Defender Priority.
More Value Positions for the Defender.
Comments:
A Side
Complex Structure. Apart from the basic zones, it has several zones at different heights from which to use for support.
Connection with A CT, A Main and A Heaven.
Very Oppressive Shock Points.
Defensive Priority.
Equal in Value Positions.
Comments:
B Side
Complex Structure. Apart from the basic zones, it has several zones at different heights from which to use for support.
Connection with B Main, B Heaven and B CT.
Very Oppressive Shock Points.
Defensive Priority.
Equal in Value Positions.
Comments:
Mid Zone
Simple Structure.
Connection with Vents, B Heaven, Water and Market.
More Defensive Priority.
More Value Positions for the attacker.
Comments:
Content in Development…

Breeze

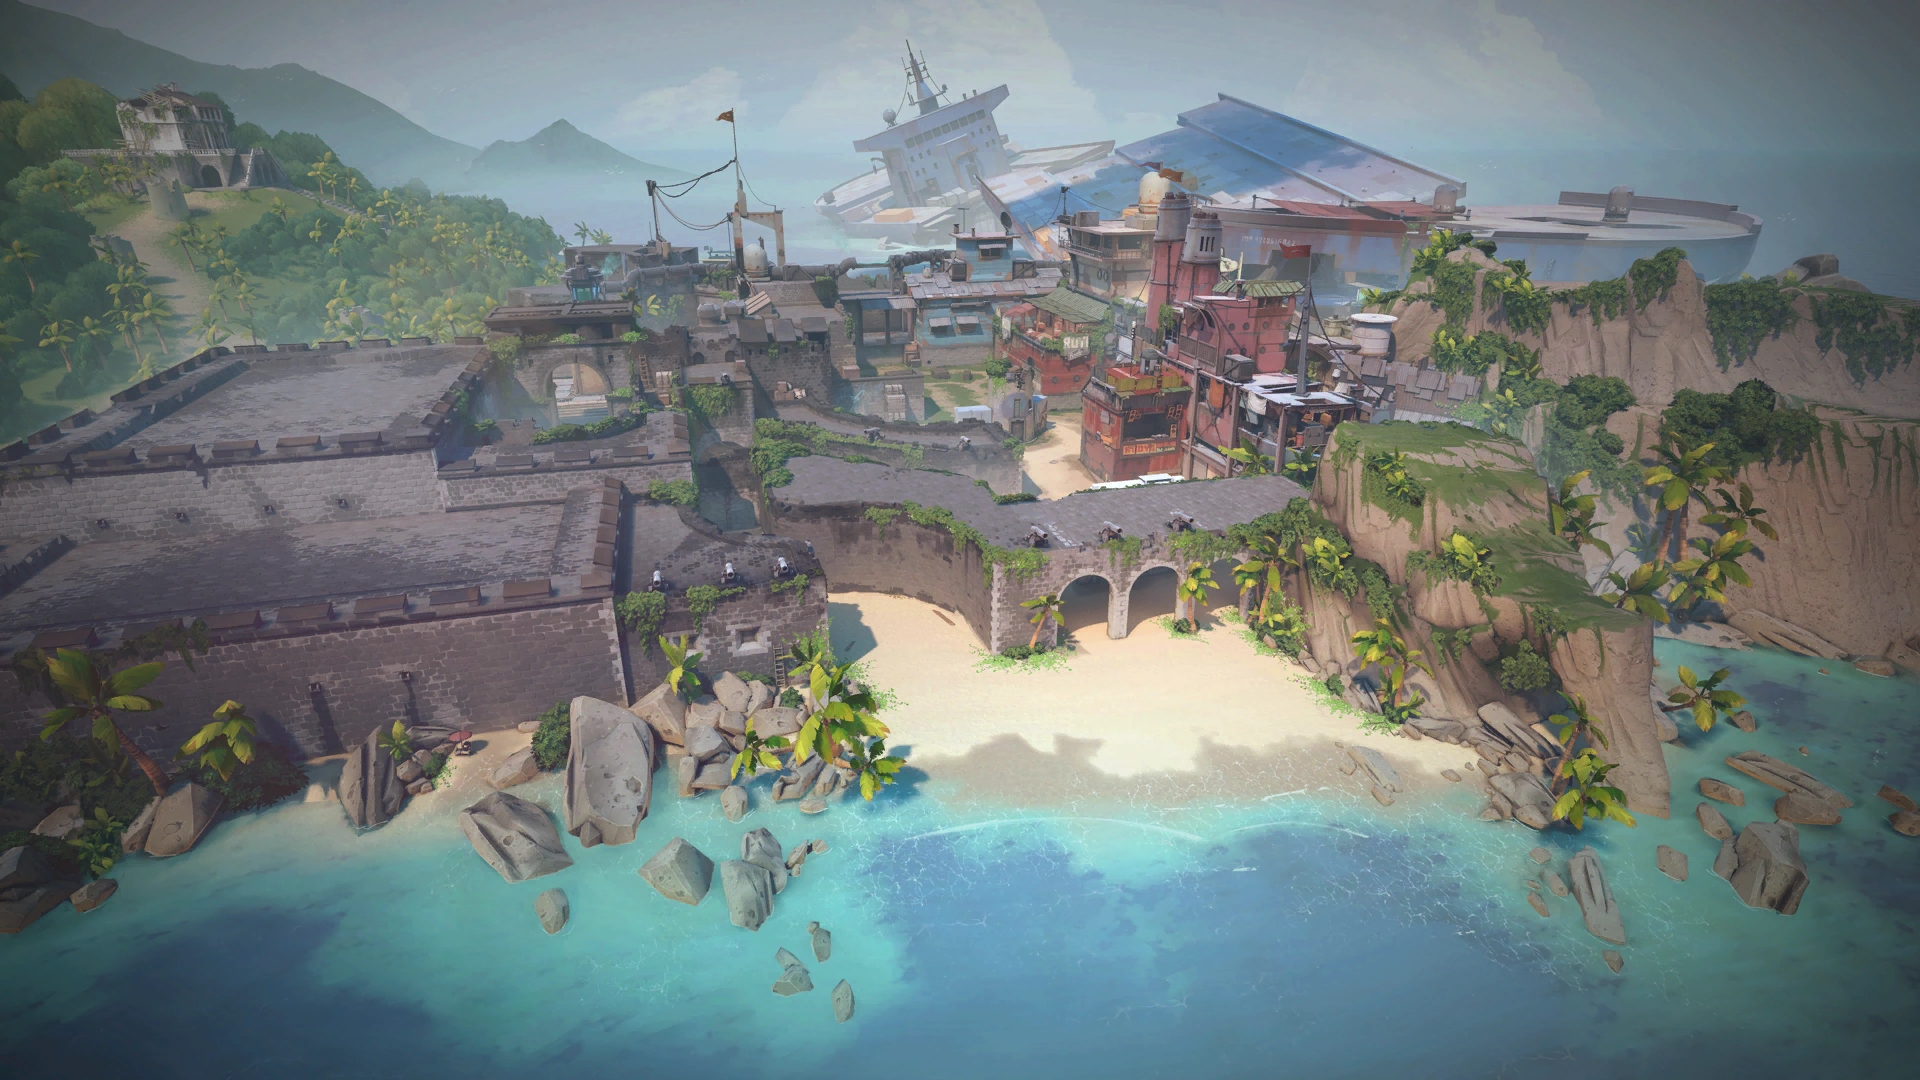
Concept
It is a map characterized by very open spaces.

Orbs
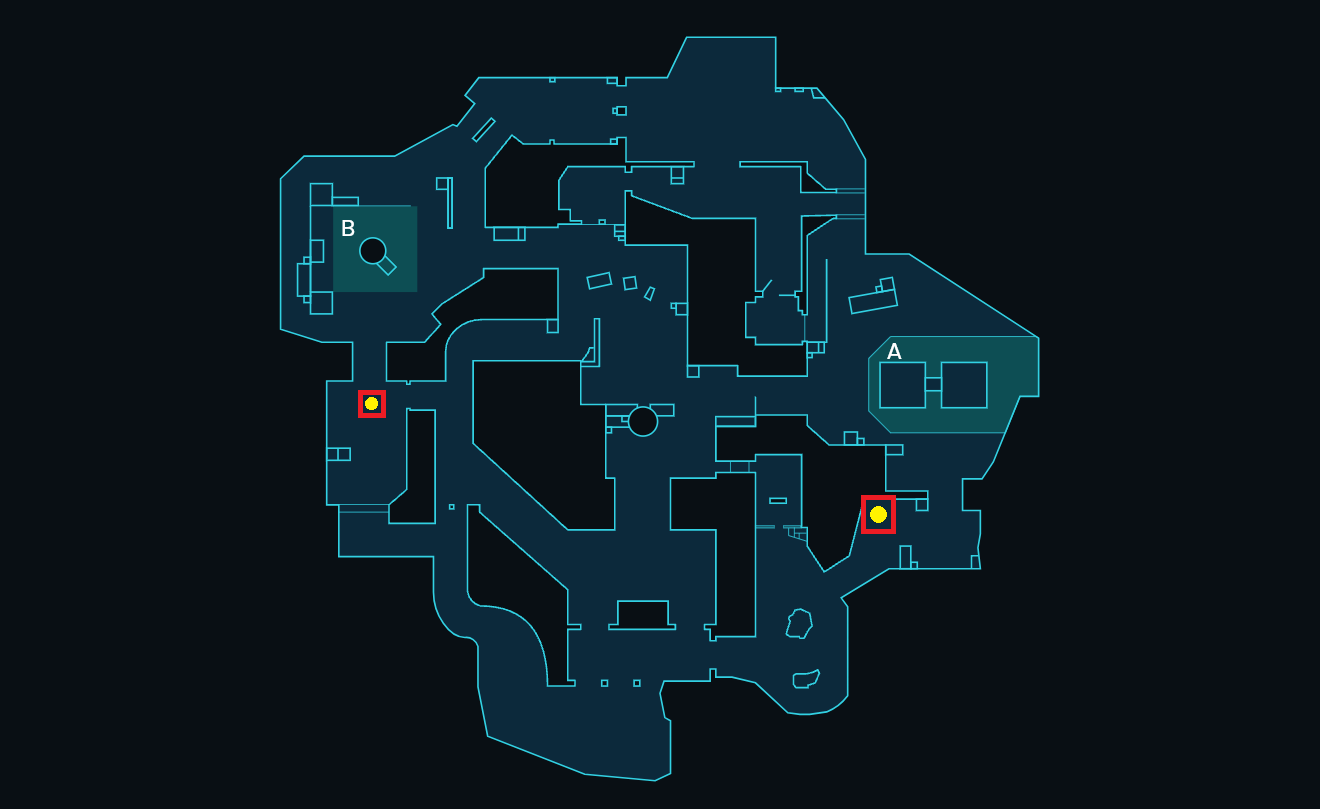
Orb of A Main: Favors Attacker
Orb of B Main: Favors Attacker
Times of Rotations
I will list just a few basic ones.
To the attack times, we must add the 4s it takes to plant the Spike.
In attack, the rotation is made up to the Default plant.
The times with gun or knife are similar, as long as they are not heavy weapons.
Attack
A Main – B Side for Lobbys
- Running 27s +-
- Walking 42s +-
A Main – B Side for Mid
- Running 29s +-
- Walking 44s +-
Defense
A Side – B Side for CT
- Running 16s +-
A Side – B Tunnel for Mid
- Running 10s +-
- Walking 17s +-
Defender or Attacker?
Defender
Zone Analysis
A Main
Simple Structure.
Connection with A Lobby and A Side.
More Attacker Priority than defender.
More Positions of Value for the attacker.
Comments:
For the attacker it is easy to Takear, but complicated to Retakear. In most cases it will be a preparation zone. And it has a very favorable Orb.
For the defender it is an interesting zone to make aggressives. Difficult to Retake.
B Main
Compound Structure. We have Main and Window.
Connection with B Lobby, B Side, Elbow and Spawn Attacker.
Slight Defender Priority.
More Positions of Value for the attacker.
Comments:
For the attacker it is a zone of preparation. With an easy Take.
For the defender it is a zone mainly to gather information and some occasional aggressive.
Elbow
Simple Structure.
Connection with B Main, B Lobby and Mid.
Priority 50/50.
Equal in Value Positions.
Comments:
For the attacker it is a transition zone to press Mid and enable Split. It is also an area ideal for Lurkear.
For the defender is an area propitious to gather information, some aggressive or push.
A Side
Complex Structure. This Side can be divided into 4 subzones.
- Dead Zone
- Positioning Zone (Pyramids)
- Dead Zone
- Positioning Zone (Yellow and Stairs)
It is a Side with different heights and positionings.
Connection with A Main, Mid, Tunnel and A CT.
Not very oppressive Shock Points.
Defensive priority evidently.
More Positions of Value for the defender.
Comments:
For the attacker it is a complicated Side, mainly because of 4 points.
- The number of positions and heights of the defender.
- If we analyze in detail the structure of the Side, we see that it is almost impossible to smoke with spherical smokes. For the wall smokes will be essential (Harbor, Viper or Neon).
- Punishable the plant.
Positions of Value very limited in the PostPlant. - These points lose impact and may even change when we include utility in the equation. For example: The amount of positionings is greatly reduced when the Wall Smoke comes into play.
For the defender it is a Side, which offers tools to defend it and a more or less simple Retake.
B Side
Complex Structure. We can divide it into 3 subzones.
- Positioning Zone
- Dead Zone
- Positioning Zone
Connection with B Main, Mid and B CT.
Slightly Oppressive Shock Points.
Defender priority evidently.
More Positions of Value for the defender.
Comments:
For the attacker it is a simpler Side than A Side. And with more possibilities in the PostPlant.
For the defender it is a Side that is not so easy to defend. And the Retake is more complicated than A Side.
Mid Zone
Complex Structure. Divided into 3 Subzones.
- Top Mid
- Mid
- Bottom Mid
Connection with A Side, B Side, Elbow, Mid Lobby and Tunnel (both Top Mid and Hatch).
Slight Priority for defense.
More Value Positioning for the defender.
Comments:
For the attacker it is an important zone.
- Since it connects directly with the Sides. That allows us to make Splits or generate such pressure.
- More mobility.
- Positioning for a Lurk.
For the defender is an important zone for several reasons.
- To stop/dificult the opponent’s Split.
- To have a shorter rotation from Tunnel to Double Doors.
- It is a zone that we want to control at the time of Retake. To have connection with Elbow, it allows us to press B Main in the Retake.
Content in Development…

Sunset


Concept
Simple map, without any specific concept.
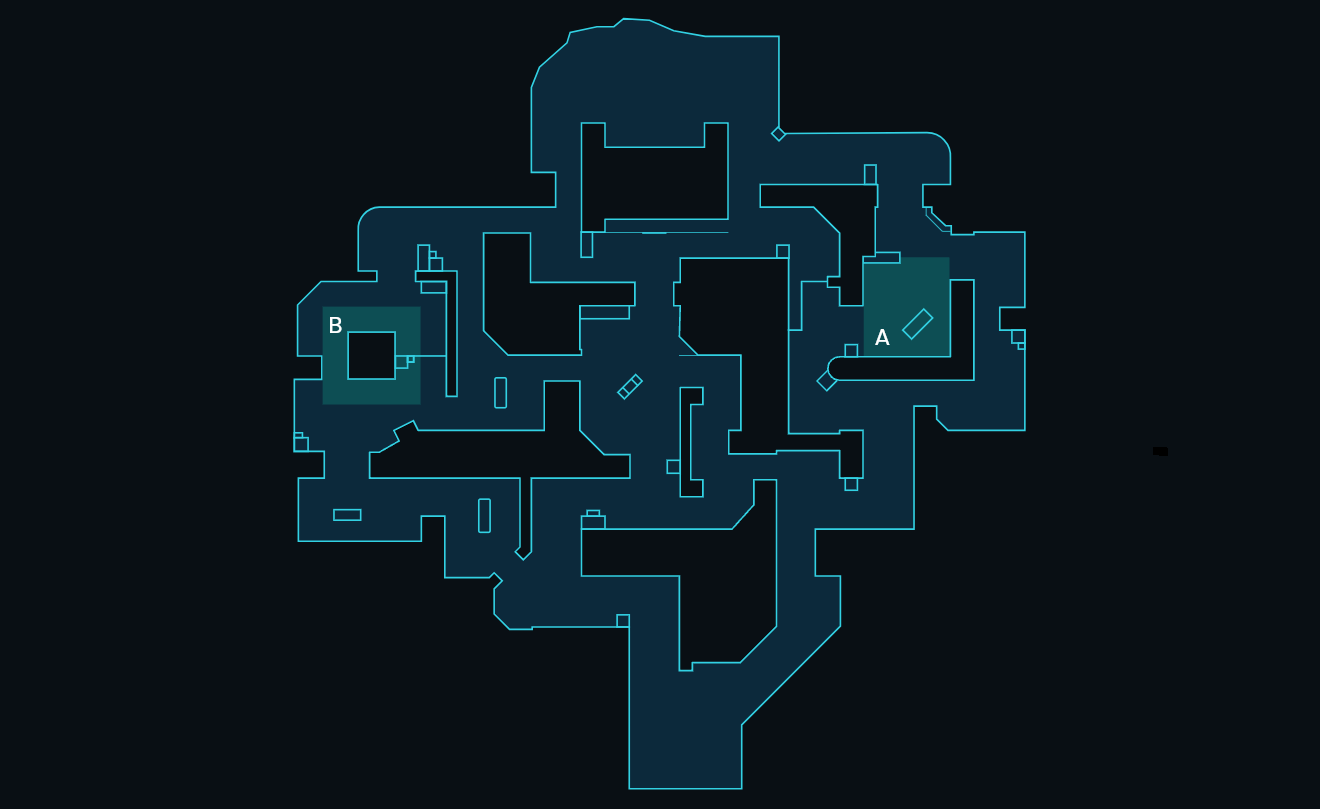
Orbs
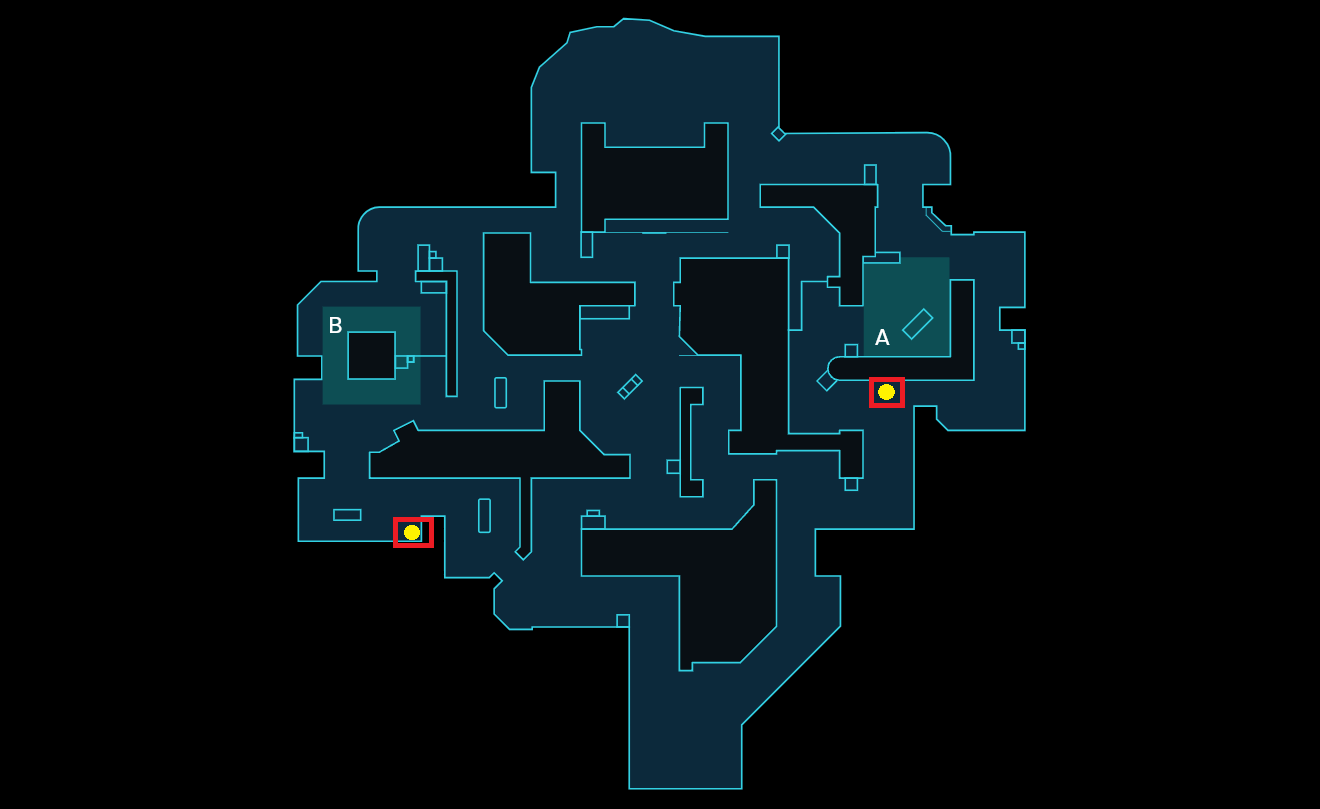
Orb of A Main: Favors Attacker
Orb of B Main: Favors Attacker
Times of Rotations
I will list just a few basic ones.
To the attack times, we must add the 4s it takes to plant the Spike.
In attack, the rotation is made up to the Default plant.
The times with gun or knife are similar, as long as they are not heavy weapons.
Attack
A Main – B Side for Spawn Attacker
- Running 28s +-
- Walking 42s +-
A Main – B Side for Market
- Running 22s +-
- Walking 30s +-
Defense
A Side – B Side for CT
- Running 21s +-
A Side – B Side for Mid
- Running 18s +-
- Walking 29s +-
Defender or Attacker?
Attacker
Zone Analysis
A Main
Simple Structure.
Connection with A Lobby, A Link, A Side and Elbow.
Zone Priority is pretty much 50/50.
More Value positioning for the defender.
Comments:
A Main is key as it connects to the most important space in the A Zone, Elbow.
For the defender it is a zone where he is going to want to be aggressive and hold it.
For the attacker it is a transition zone. But they have to be aware of the defender’s “need” to be aggressive, and do something about it.
B Main
Composite Structure. A square and a rectangle connected by a staircase. Both with a central Element.
Connection with B Lobby and B Side.
The Priority is 50/50. But we have to talk about the two windows that the attacking side has, which have synergy with some abilities. Giving more priority to the attacker.
More Value Positions for the defender.
Comments:
The defender can use this zone for any purpose…..
- Get Info
- Bait utility
- Aggressive to timing…. etc
The attacker will use this zone for different purposes…
- Deny or Obtain information
- Lurk
- Pressure…. etc
Elbow
Simple Structure.
Connection with A Main and A Side.
Defensive Priority.
Both defense and offense are fairly evenly matched in Value Positions.
Comments:
The defender has to be efficient. Elbow is the farthest space from B Side. Making it one of the slowest rotations in the game. This has to be taken into account when defending Elbow. At the same time, for reasons of value positioning of A Side, Elbow becomes a very important area to generate other angles.
For the attacker it is very interesting. Since having Elbow, you drastically reduce the A Side value positions.
Market
Simple Structure.
Connection with Mid, B CT and B Side.
Defensive Priority.
More Value Positions for the defender.
Comments:
For the defender it is an important zone. It gives direct access to B Side, so the opponent will use it along with B Main to make Splits. It is also a space from where you can punish the opponent’s execution and postplant in B Side. It will be a zone that on most occasions, the defender will be interested in controlling, even more so with the priority of the zone and the door.
For the attacker it is a zone that can be interesting depending on the approach of the round. For all that has been said on the defending side. It is a zone where the defender will probably place passive vigilance mechanisms. Which is interesting, because when you break them you create pressure. The attacker has to be clear that the Take can be complicated.
In general it is a zone that is similar to Heaven’s Garage.
Tiles
Simple Structure.
Connection with A Lobby, Bottom Mid and Mid.
More Attacking Priority.
More Positions of Value for the attacker. Note that 99% of these are very short corners, which puts whoever is in one of these at a disadvantage.
Comments:
For the attacker it is an area favorable for Lurk. It also allows better mid pressure and access to duels with Top Mid and Market.
For the defender it is an interesting zone for aggressive, pushes or information gathering.
A Side
Simple Structure.
Connection with Elbow, A Main, A Link and A CT.
Shock points not very oppressive.
Defensive Priority evidently.
Positions of Value almost nonexistent.
Comments:
For the attacker it is a fairly easy Side. Once they have Elbow under control, the Side is almost a gift. When it comes to managing the PostPlant is still a bad Side in terms of positioning, but we can rely on Elbow and A Main.
For the defender it is a pretty bad Side because of what was said above. The important thing for this side will be:
- To have a good management of the zones before the Side.
- And then decide whether to fight in the Side with support for both A CT and A Link or to propose a good Retake.
B Side
Simple structure. With a giant column in the middle and other elements. We can highlight a zone of heights on one of the sides of the giant column. Side that has a dead zone before the column, where the attacker is exposed.
Connection with B Main, Market and B CT.
Shock points not very oppressive.
Defensive Priority obviously.
More Positions of Value for the defender.
Comments:
For the defender it is a Side that offers you more facilities than A Side. The keys will be to punish the dead zone, while we stop the connection to the Backside by stairs. The Side Retake is simple. The tricky part is the defuse when they are in B Main. Luck.
For the Attacker it is a somewhat complicated Side. Probably the Splits are the best option, since the Market zone softens the pressure on the Side and is a good area for some skills to impact the Backside. Once the Spike is planted the PostPlant on the Side is not very good, but from B Main it is very good.
Mid
Complex Structure. Divided into 3 subzones.
- Top Mid
- Mid
- Bottom Mid
Connection with A Link, B Link, B Lobby, Market and Tiles (By Mid and Bottom Mid).
More Defensive Priority.
More Value Positions for the Defender.
Comments:
For the Attacker the Mid zone implies several things:
- Control, to take away defensive priority.
- More Mobility
- Positioning
This Mid, specifically, is very easy to Takear or Retake for the attacker. Since the Tiles zone puts a lot of pressure on Mid.
For the Defender the Mid zone is appropriate for aggressive, pusheos or information gathering. It is not a zone where the defender wants to stay.
Content in Development…

Abyss

Concept
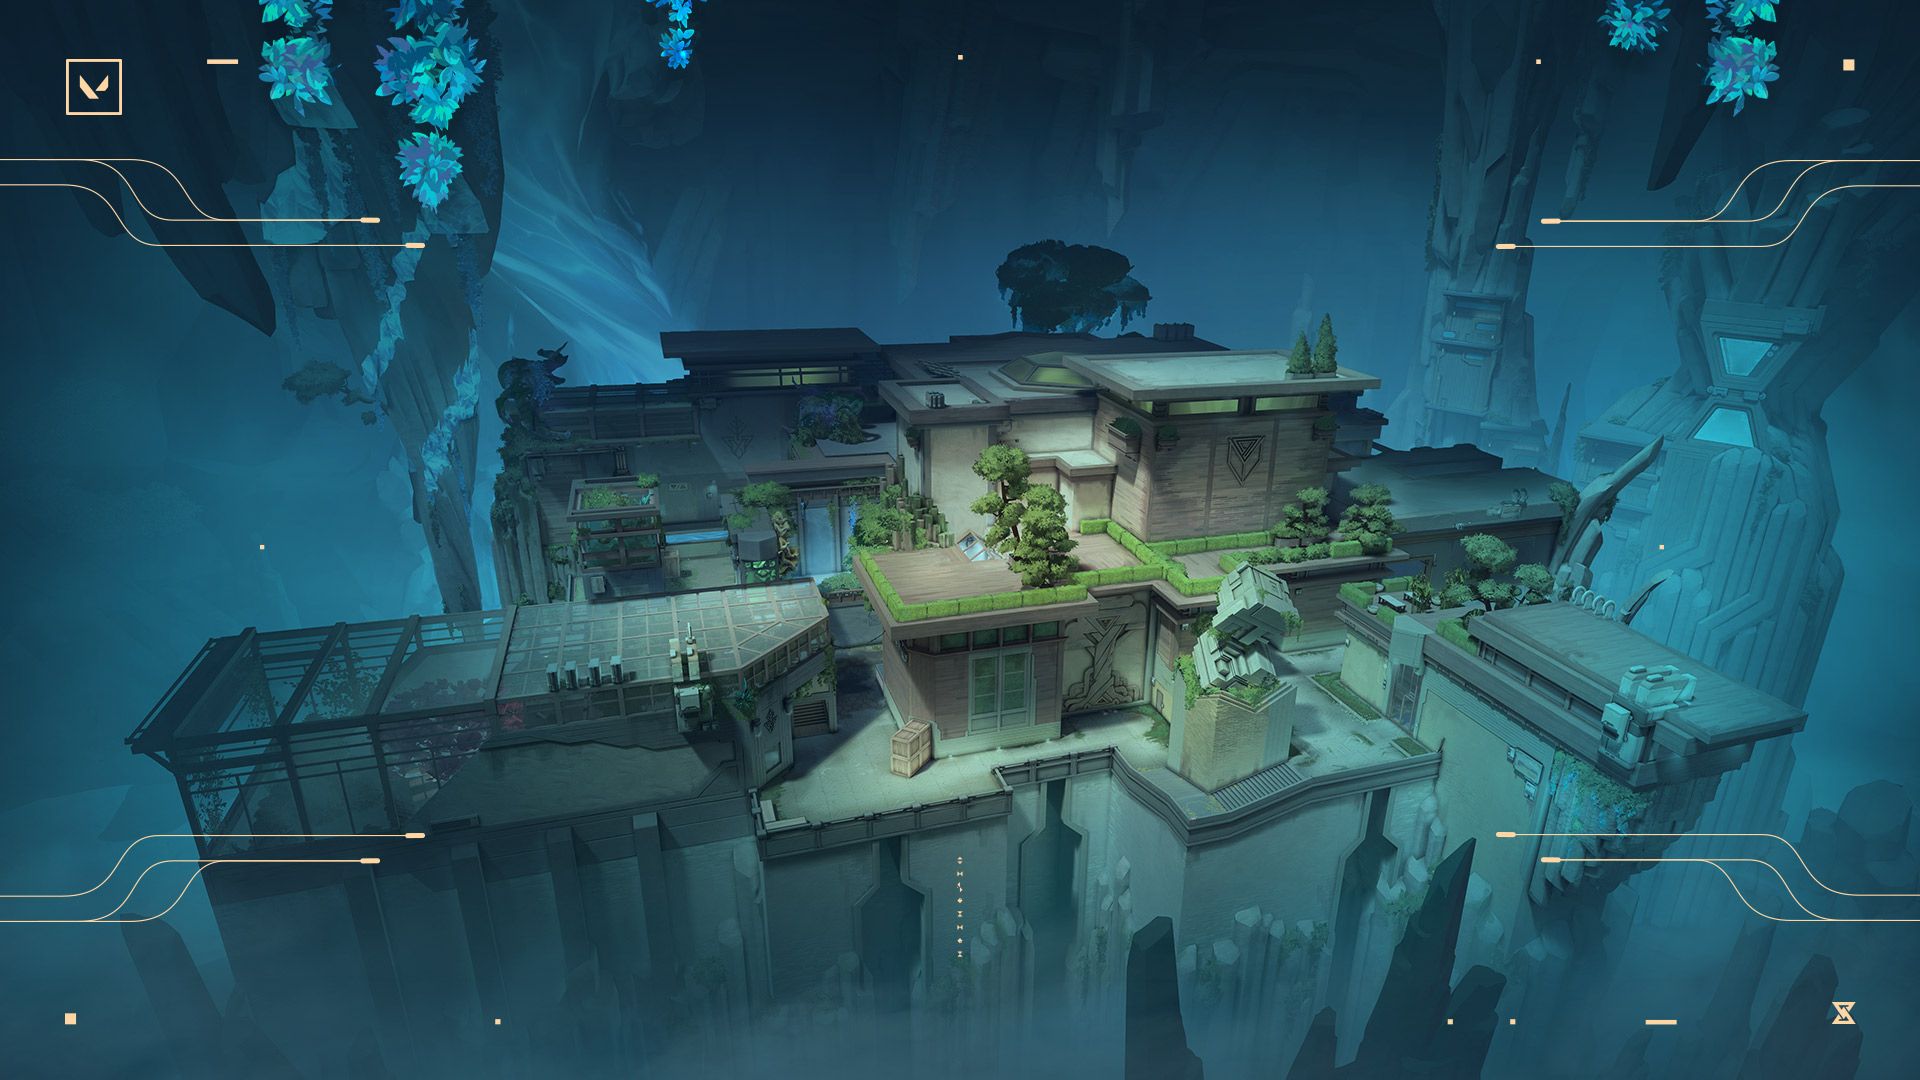
It is a map with 2 key concepts.
- The mechanics of the Deep, that’s where its name comes from.
- The difficulty to make splits
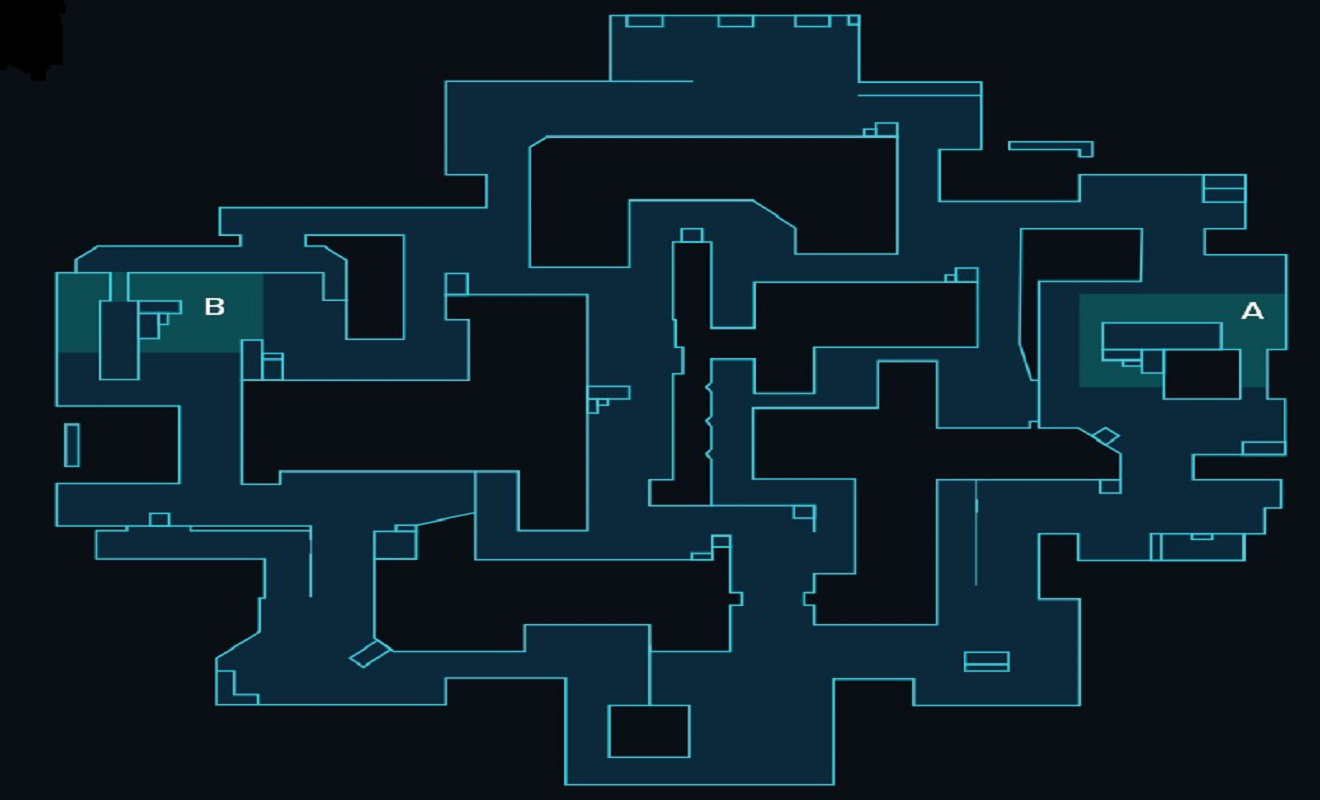
Orbs
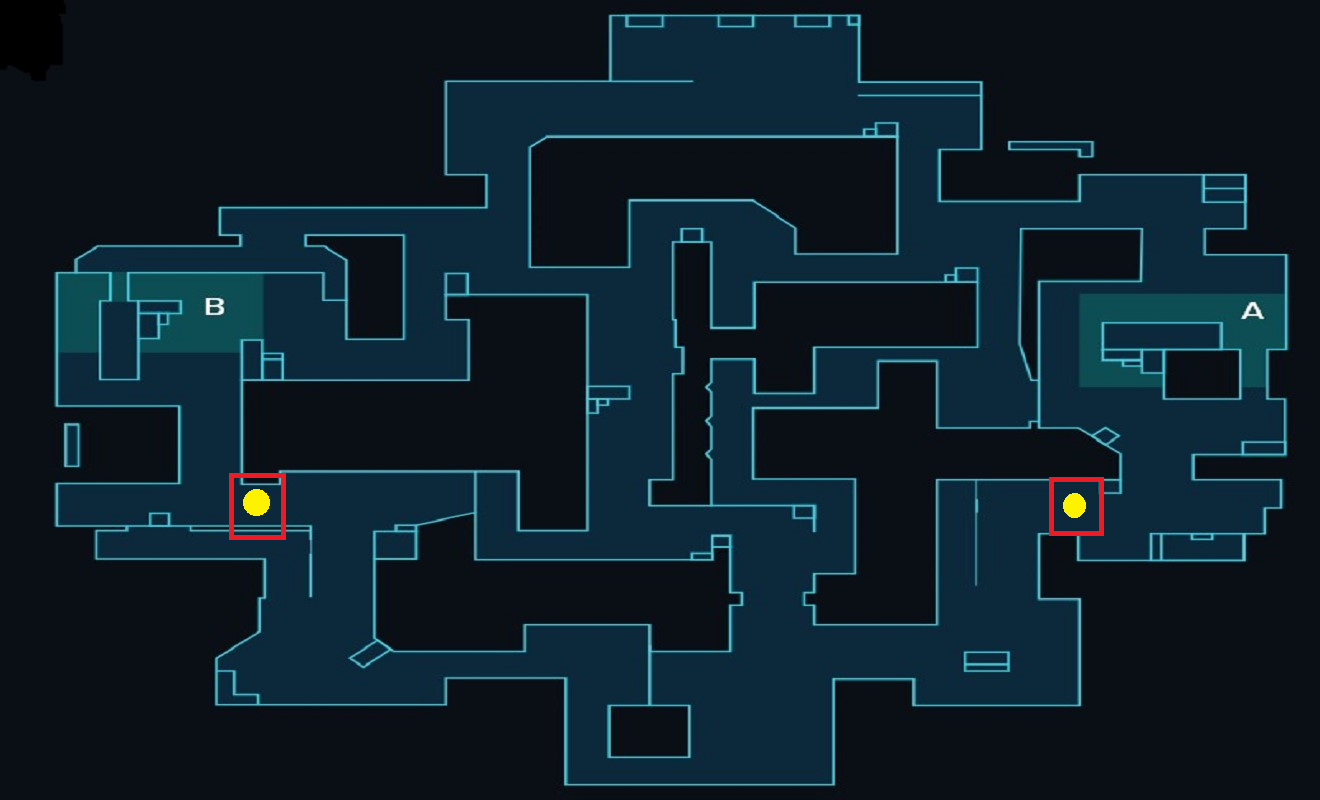
Orb of A Main: 50/50
Orb of B Main: Favors Attacker
Times of Rotations
I will list just a few basic ones.
To the attack times, we must add the 4s it takes to plant the Spike.
In attack, the rotation is made up to the Default plant.
The times with gun or knife are similar, as long as they are not heavy weapons.
Attack
A Main – B Side for Spawn Attacker
- Running 26s +-
- Walking 43s +-
Defense
A Side – B Side for CT
- Running 23s +-
Defender or Attacker?
50/50
Zone Analysis
Content in Development…


